Photo Management Workflow for Photographers on Mac
Jump to section
A photography workflow on Mac breaks down when import, naming, export, and archive decisions happen differently every time. The fix is a repeatable system from card to archive.
The five stages
- import
- cull
- edit
- export
- archive

Import
Use a consistent import destination and keep current projects separate from archives.
A practical structure:
Photos/2026/2026-03-12_client-or-event/
Cull
Do not edit before culling. Remove rejects and pick keepers first so your editing queue stays smaller and cleaner.
Edit
Keep source files separate from exports. RAW masters, selects, and delivery files should not all live in one mixed folder.
Export
Name exports so they are understandable outside your editing app.
Examples:
client-headshot-select-01.jpgwedding-ceremony-first-kiss.jpgproduct-shot-front-view-white-background.png
Archive
Archive completed projects with backup in mind. Working drives and archive drives should have different jobs.
Why naming matters in photography
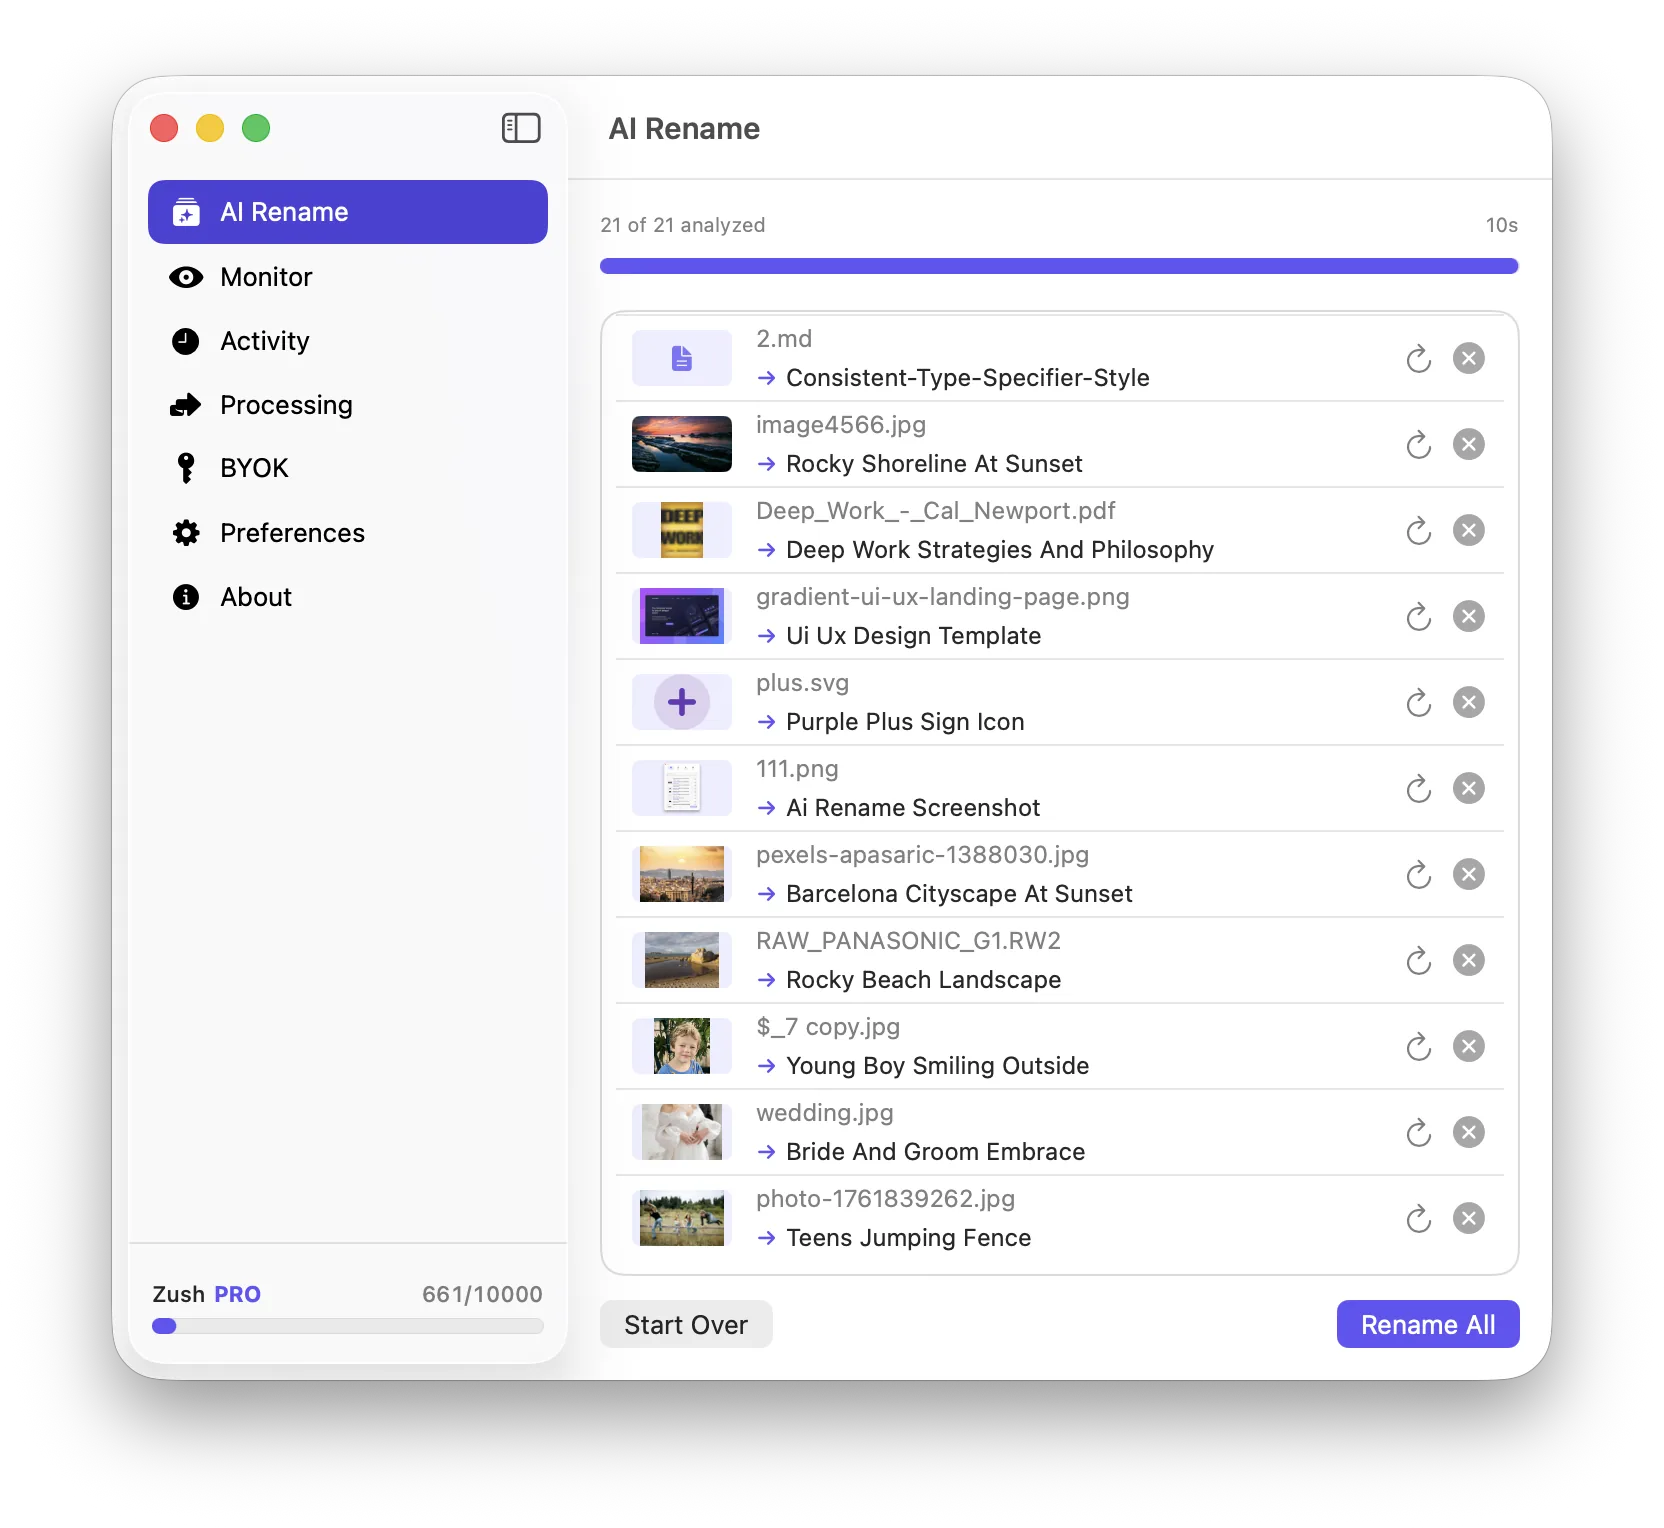
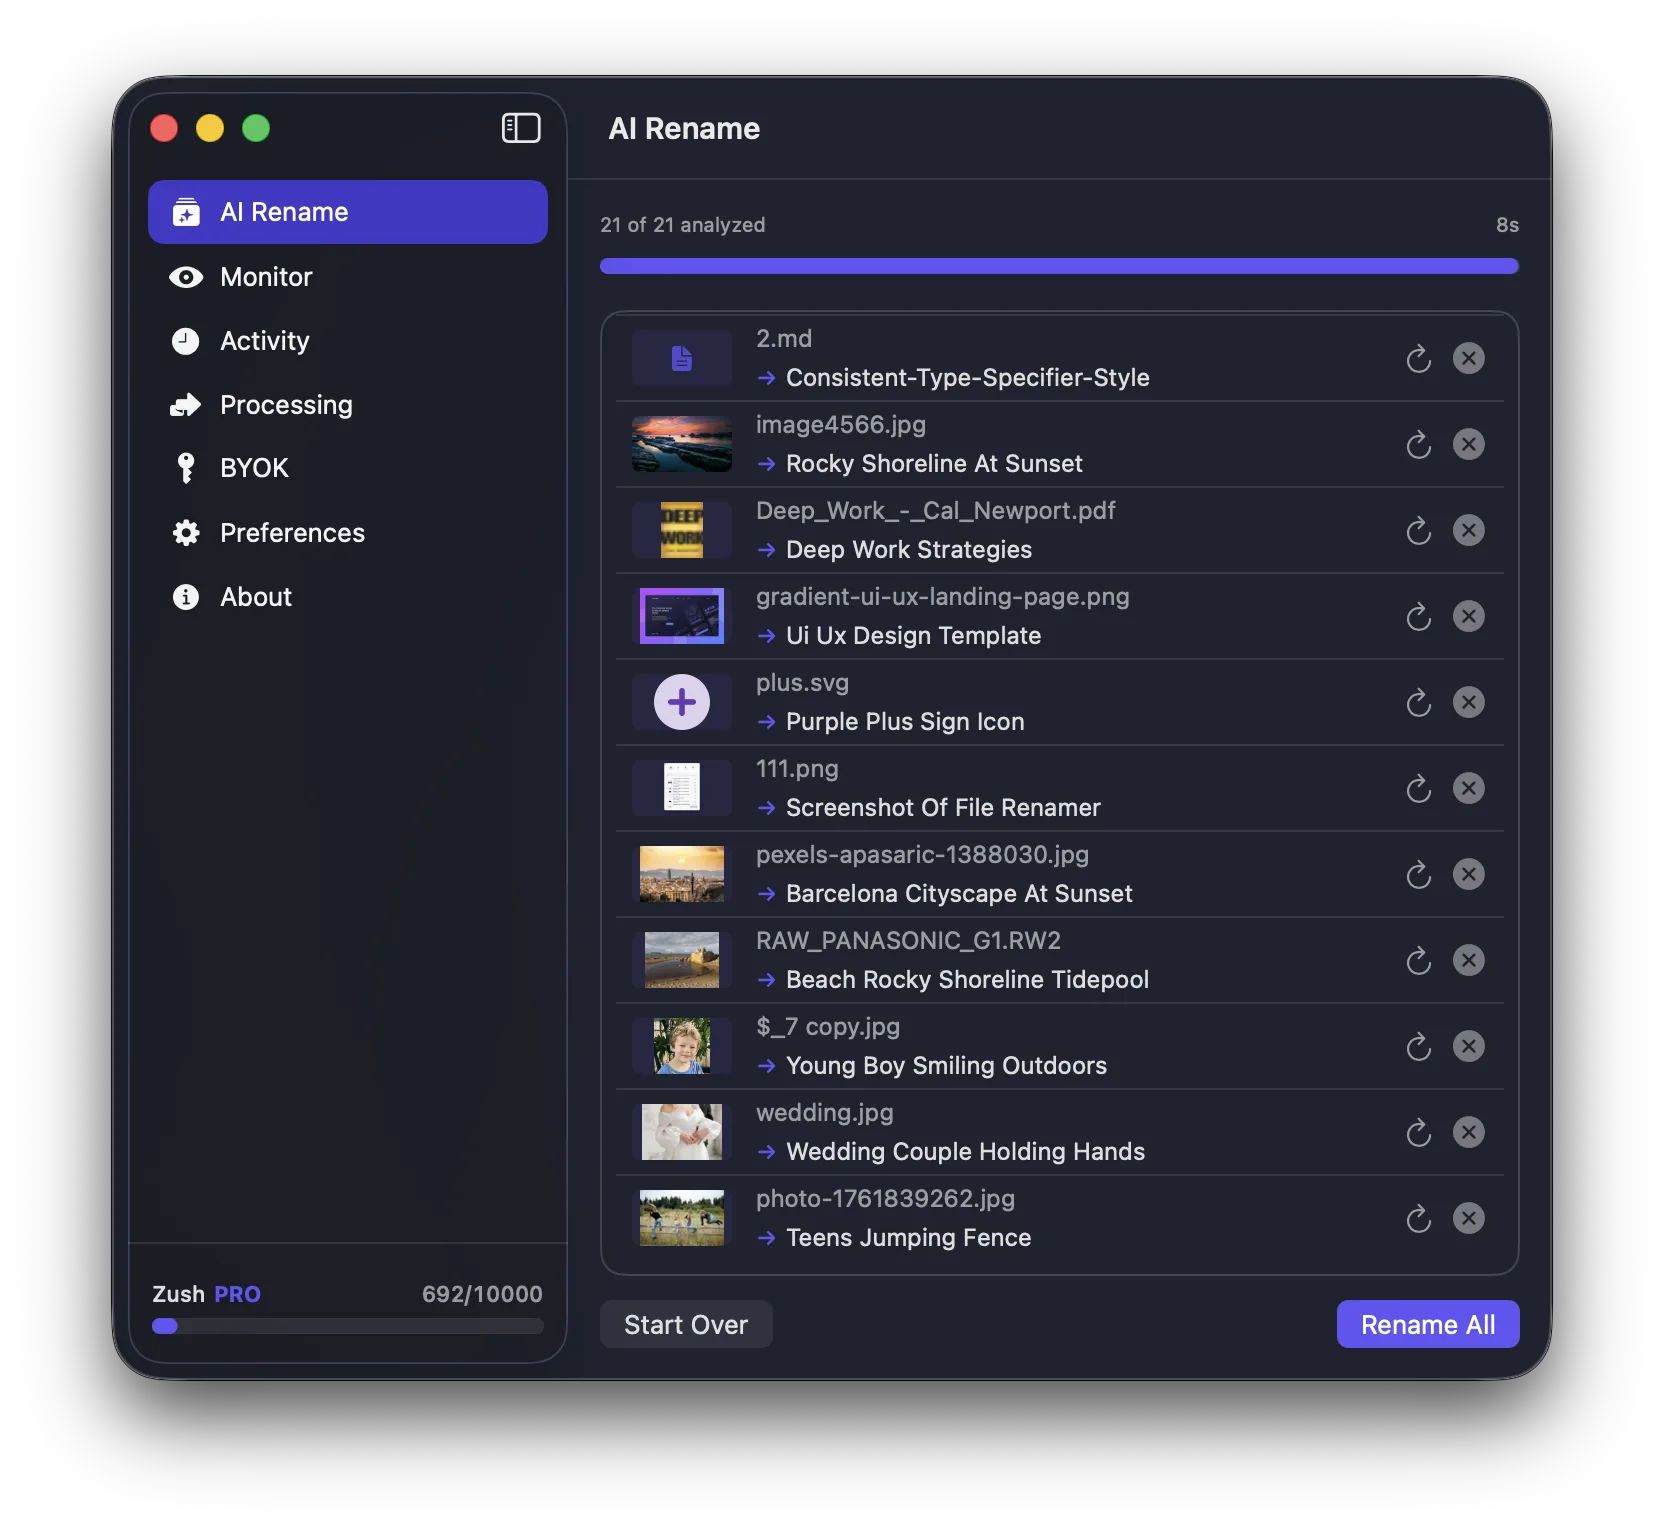
Photographers often solve quality and editing first, then leave filenames as DSC_ or IMG_. That makes retrieval harder later, especially across years of work.
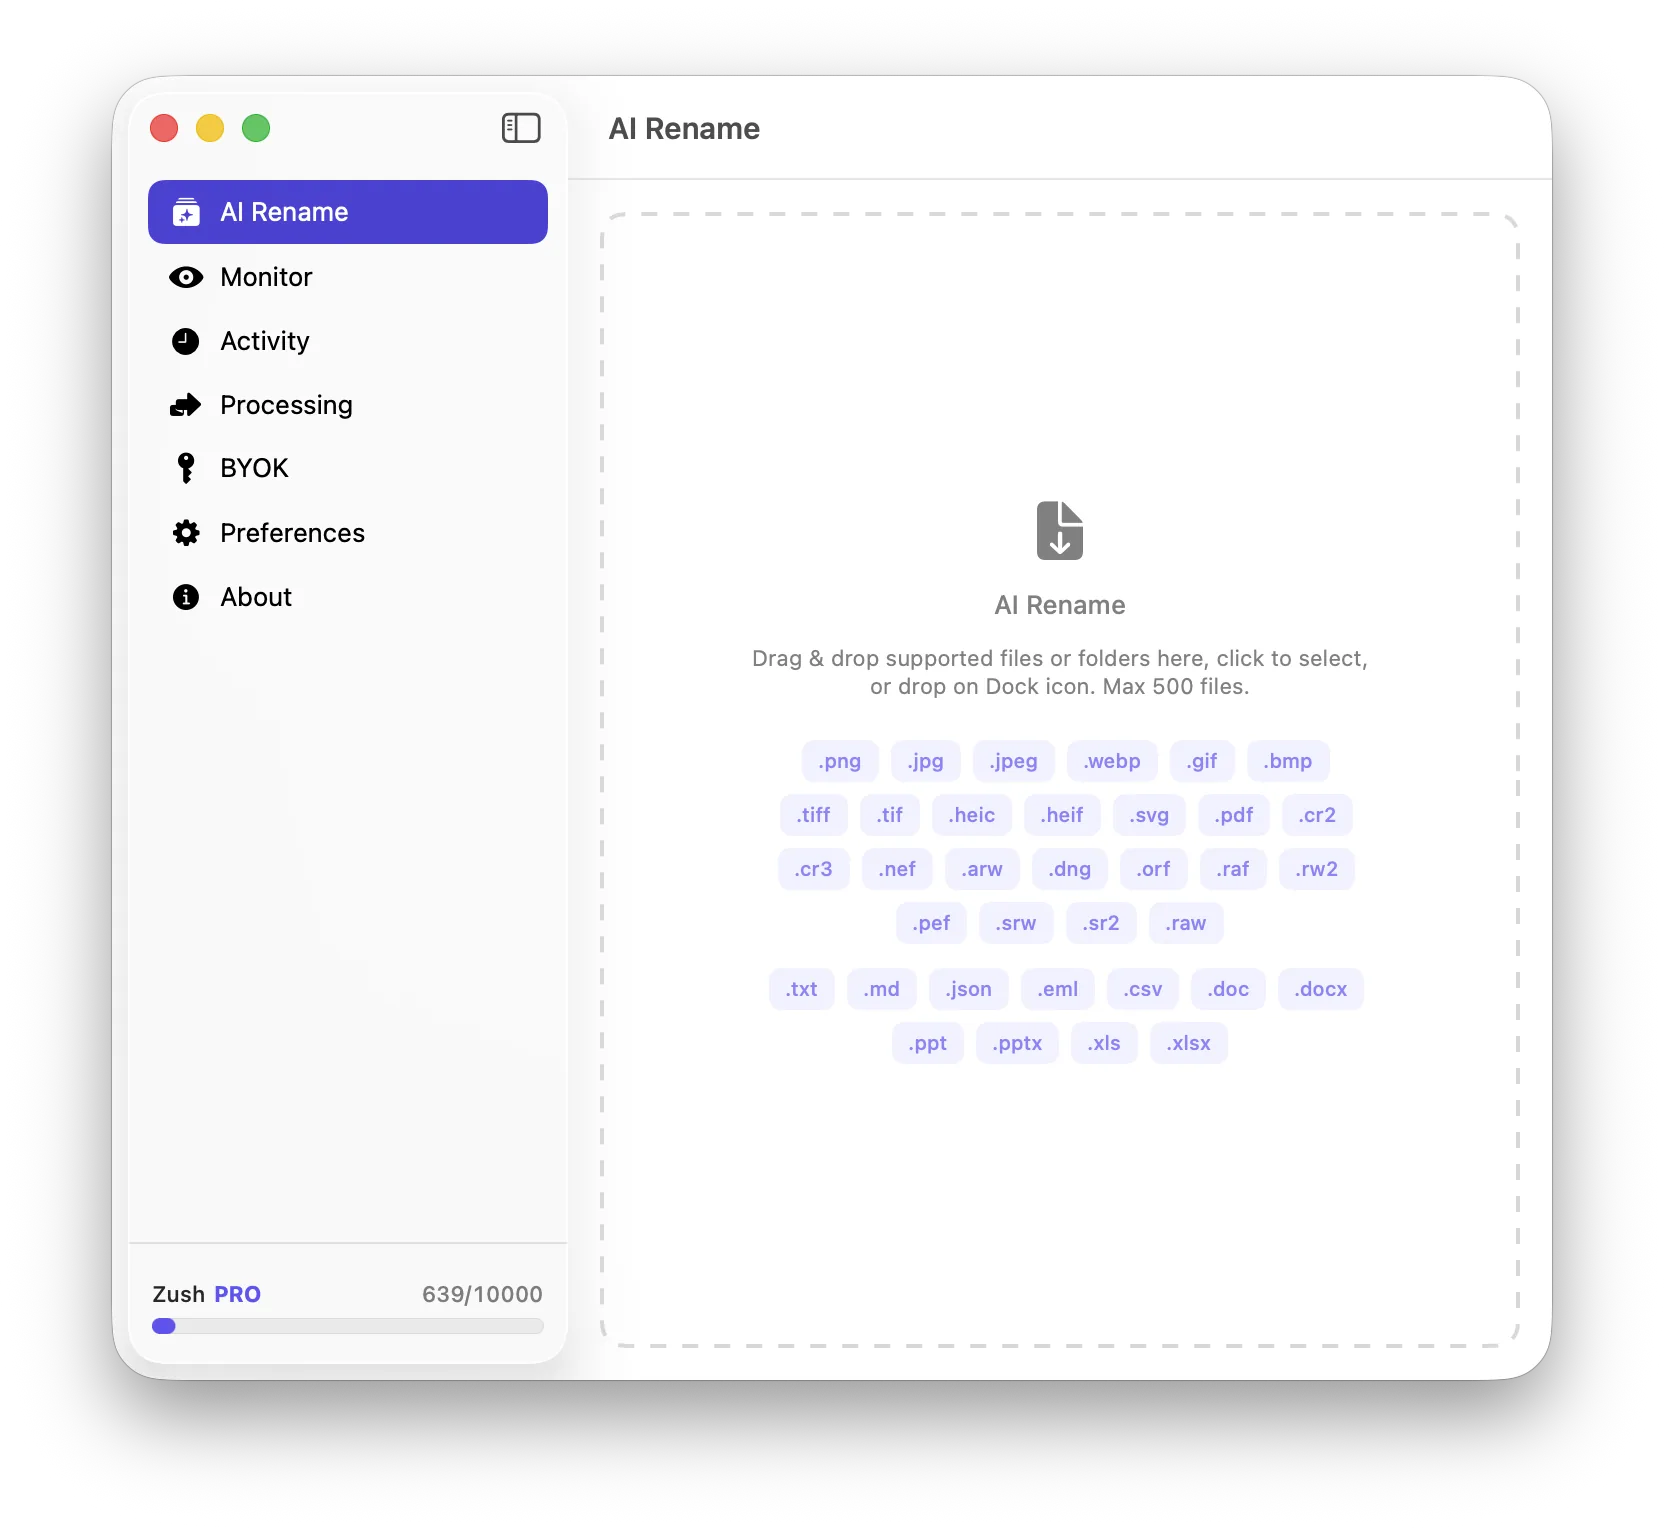
For image-heavy Mac workflows, Zush can help with the descriptive naming side when you need a faster way to turn weak filenames into searchable ones.
Conclusion
A good photography workflow on Mac is not just about editing speed. It is about keeping images understandable from import to archive. Consistent structure, early culling, clear exports, and strong naming do most of the work.