How to Organize Photos on Mac: Folders, Names & Backup

Auf Deutsch lesen: So organisieren Sie Fotos auf dem Mac: Ein System für mehr als 10.000 Fotos
Jump to section
Organizing photos on a Mac is really two jobs. For the library — browsing, albums, faces, duplicates — use Apple Photos, Finder folders for a portable archive, or a hybrid setup for both. For filenames that say nothing, Zush renames photos from their content and can group them into AI folders (beta), showing proposed names and destinations before a manual batch is applied. With sorting off and the original destination selected, files stay in their current folder.
Choose your Mac photo system in 30 seconds
| Your library | Recommended starting system | Why |
|---|---|---|
| Personal and iPhone photos | Apple Photos | Albums, people, timeline browsing and optional iCloud sync |
| RAW files, client work or external drives | Finder folders | Direct file access, portable structure and sidecar management |
| Files with generic names | Zush, when renaming is needed | Content-aware names and optional AI folder groups (beta), with preview and undo |
Download the Mac photo folder template to create a ready-made intake, personal, client-work, exports, and archive structure.
The strongest system combines a clear folder structure, descriptive filenames, searchable metadata, and a real backup plan so you can find images fast and never lose them.
Most photo libraries grow chaotic because the system was never designed for scale. A few hundred iPhone photos are manageable. A few thousand photos from trips, shoots, downloads, and client work are not, especially when every file is named IMG_ or Screenshot.
This guide covers the full system: choosing Apple Photos or Finder, structuring folders, using portable dates, testing Spotlight search, reviewing duplicates, and protecting the library with proper backups.
Photographers and videographers who need a repeatable workflow for RAW shoots, client exports, and video clips can use the dedicated Zush workflow for photographers and videographers. This article stays focused on organizing a Mac photo library rather than evaluating the complete product workflow.
Jump to Apple Photos vs Finder, folder structures, search, backup, or the repeatable import workflow.
Sort photo files into folders with AI
Zush can give supported files descriptive names and group them into real folders by content in the same batch. AI folder sorting is in beta on Mac and Windows. Leave Folder rules empty for Auto grouping, or describe the groups in plain language. For photo files, try:
Group images by subject, such as People, Food, and Landscapes.
- Add a small copied batch in AI Rename and select a Template.
- Enable + Sort and choose the Destination folder, which is the root for the sorted subfolders. Without a separate destination, the source folder remains the root.
- Enter the grouping instruction in Folder rules. Naming Blocks set the filename format separately.
- Enable Reuse existing folders if suitable groups already exist inside the destination root. Zush can create a new folder when none fits.
- Review both the proposed names and folder groups. Correct folder names or file placement before applying the batch.
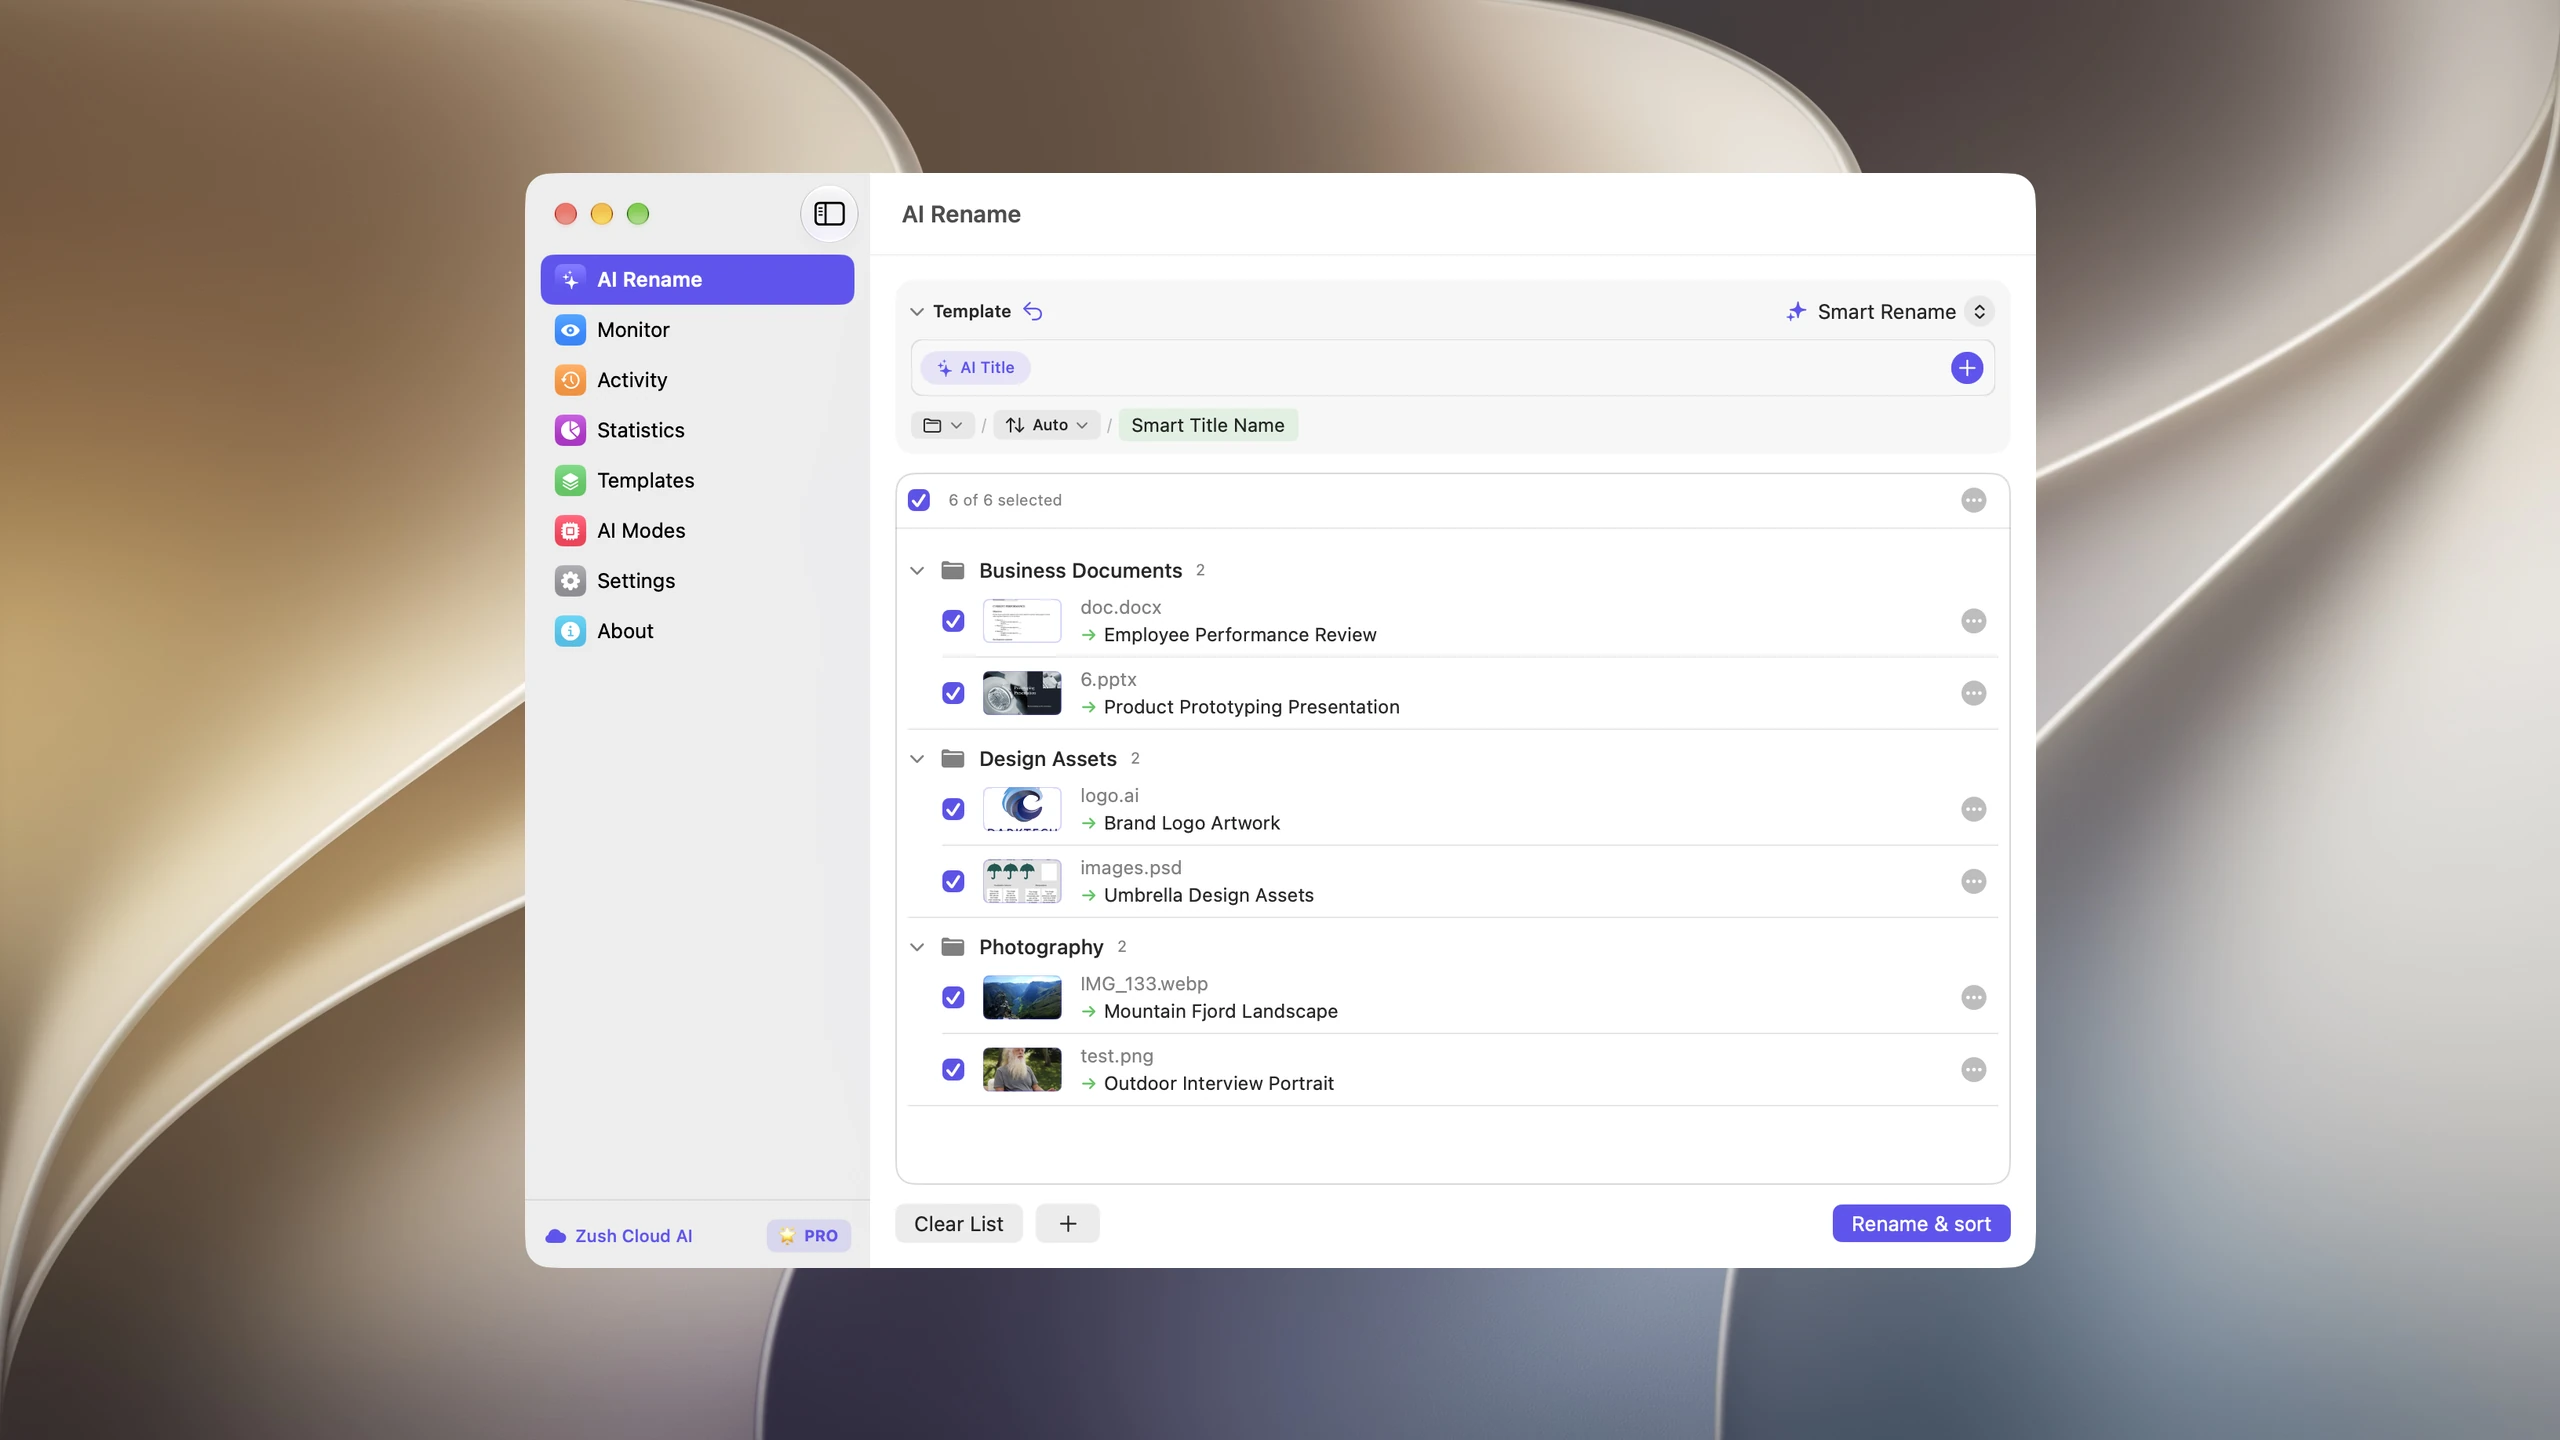
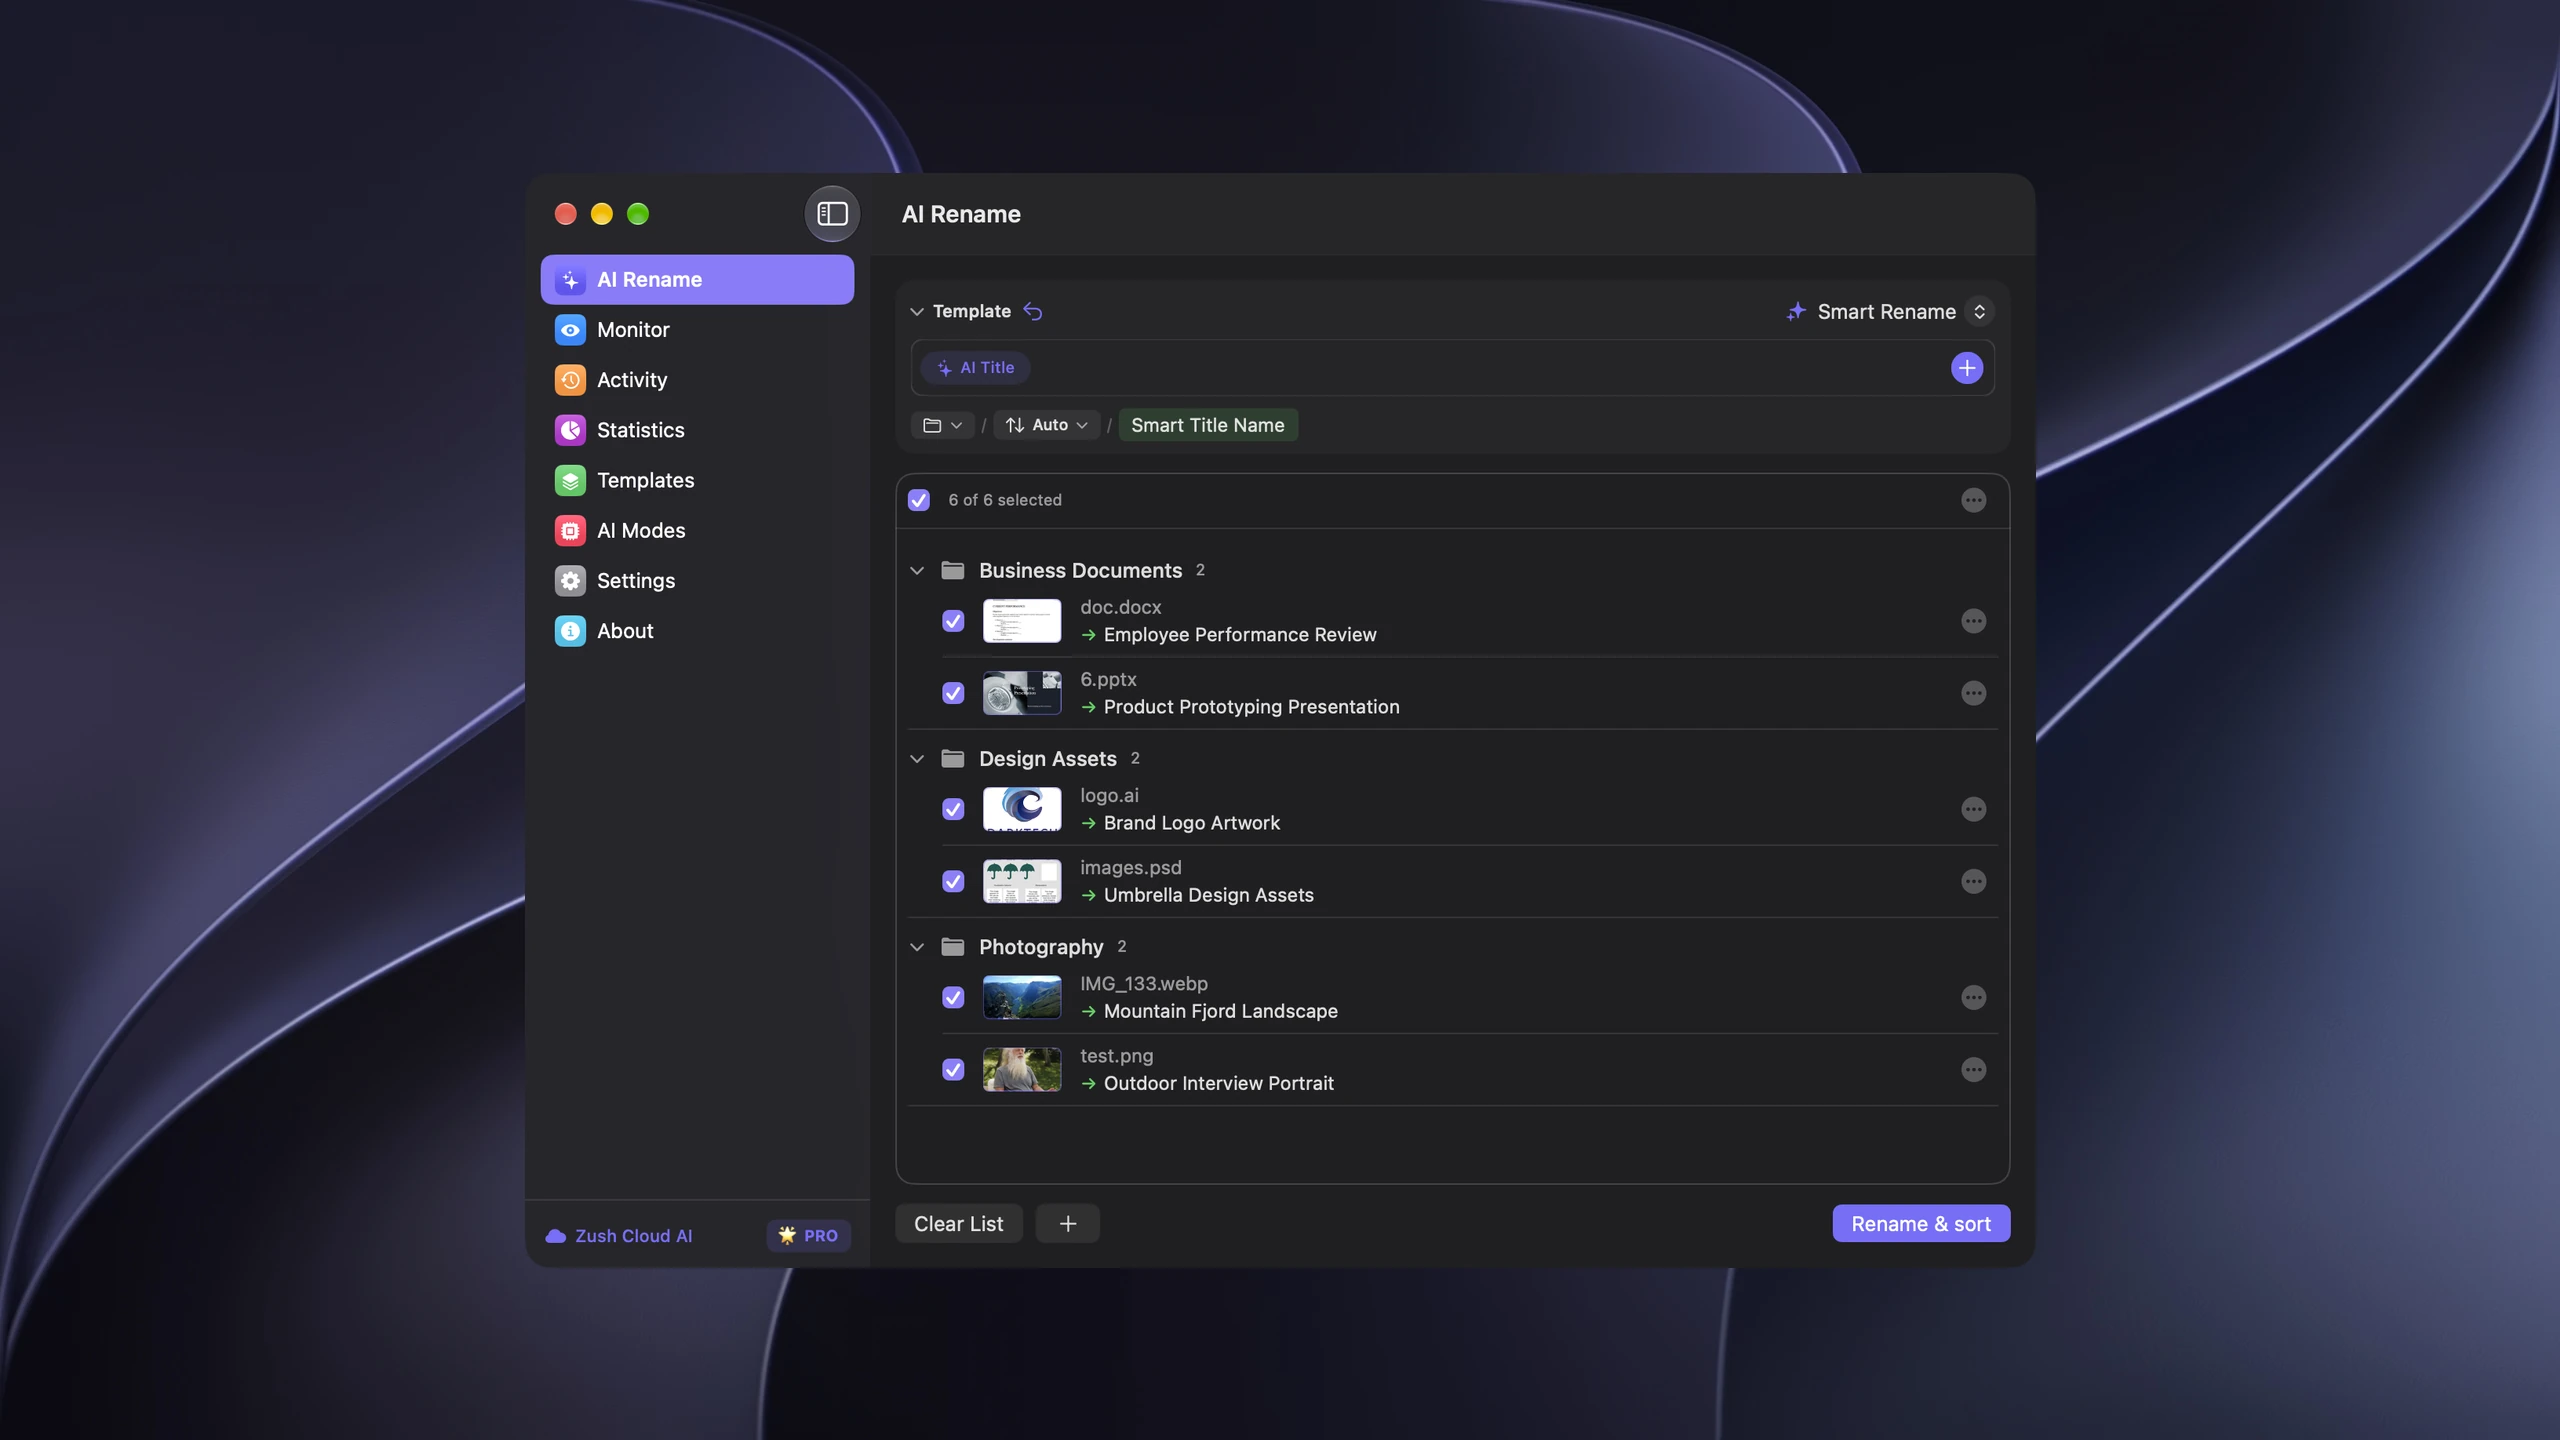
Save the tested destination and rules in the Template. Assign it to Monitor to rename and sort new files arriving directly inside the watched folder. This does not retroactively reorganize files already processed. With sorting off and the original destination selected, files keep their current folder.
Use ordinary exported images or a copied Finder/File Explorer folder. Do not reorganize a Photos library package; for originals tracked by a catalog, follow its rename or relink workflow. Folder grouping does not add albums, face recognition, duplicate removal, or backup.
Follow the step-by-step Mac sorting guide or see the folder sorting documentation and 30 example Folder rules.
The 7-step Mac photo organization system
- Choose the library: use Apple Photos, Finder folders, or both according to how you browse and share photos.
- Create a durable structure: use albums or a
Year/Month/EventorYear/Projectfolder structure. - Improve unclear names: use Zush or manual renaming for files that need descriptive names; review before applying changes.
- Keep dates portable: include the capture or project date in important filenames so context survives exports and folder moves.
- Use a small tag vocabulary: reserve Finder tags for status, client, or project labels that need to work across folders.
- Test retrieval: search for a real photo in Spotlight without browsing folders. If you cannot find it, improve the filename or metadata.
- Back up with the 3-2-1 rule: keep three copies on two storage types, with one copy off-device or off-site.
Apple Photos vs Finder folders vs a hybrid setup
Choose the library model before reorganizing anything. Apple Photos, Finder folders, and a hybrid setup can all work, but they solve different retrieval and storage problems.
| Criterion | Apple Photos | Finder folders | Hybrid setup |
|---|---|---|---|
| iCloud sync | Built in when iCloud Photos is enabled | Requires a separate sync or backup workflow | Sync personal photos in Photos; manage work files separately |
| RAW and client work | Imports RAW files into a managed library | Keeps RAW files, sidecars, selects, and exports directly accessible | Keep personal photos in Photos and client projects in Finder |
| Deduplication | Provides a Duplicates view for supported libraries | Requires a deliberate duplicate review before deletion | Review each library separately and avoid importing work files twice |
| Search | Searches dates, albums, people, places, and recognized content | Uses filenames, Finder tags, and indexed metadata | Use Photos search for memories and Finder or Spotlight for projects |
| Backup control | Back up the Photos library and understand how iCloud sync behaves | Copy folders directly to local and off-site storage | Back up the Photos library plus the Finder archive |
A concrete hybrid example is to keep iPhone family photos in Apple Photos, while a client shoot stays in Pictures/Client-Work/2026/Acme-Launch/ with its RAW files, selects, and exports. Personal photos retain iCloud convenience, and client files remain portable and directly accessible.
Use the downloadable Mac photo folder template as a starting point. It separates personal events, client projects, an intake folder, exports, and archive states without locking the library to one app.
Choose a folder structure that scales
The first decision is how to organize the top-level structure. There are three common approaches, and each works best for a different type of user.
Date-based organization
This is the simplest durable system for large photo libraries. Date-based organization works because it mirrors how people remember events: trips, shoots, holidays, and projects happened at a specific time. It also scales well because dates are objective, easy to sort, and already present in most image files.
A strong default structure looks like this:
Photos/ 2026/ 01-January/ New-Year-Party/ 03-March/ Tokyo-Trip/ 06-June/ Product-Shoot-Client/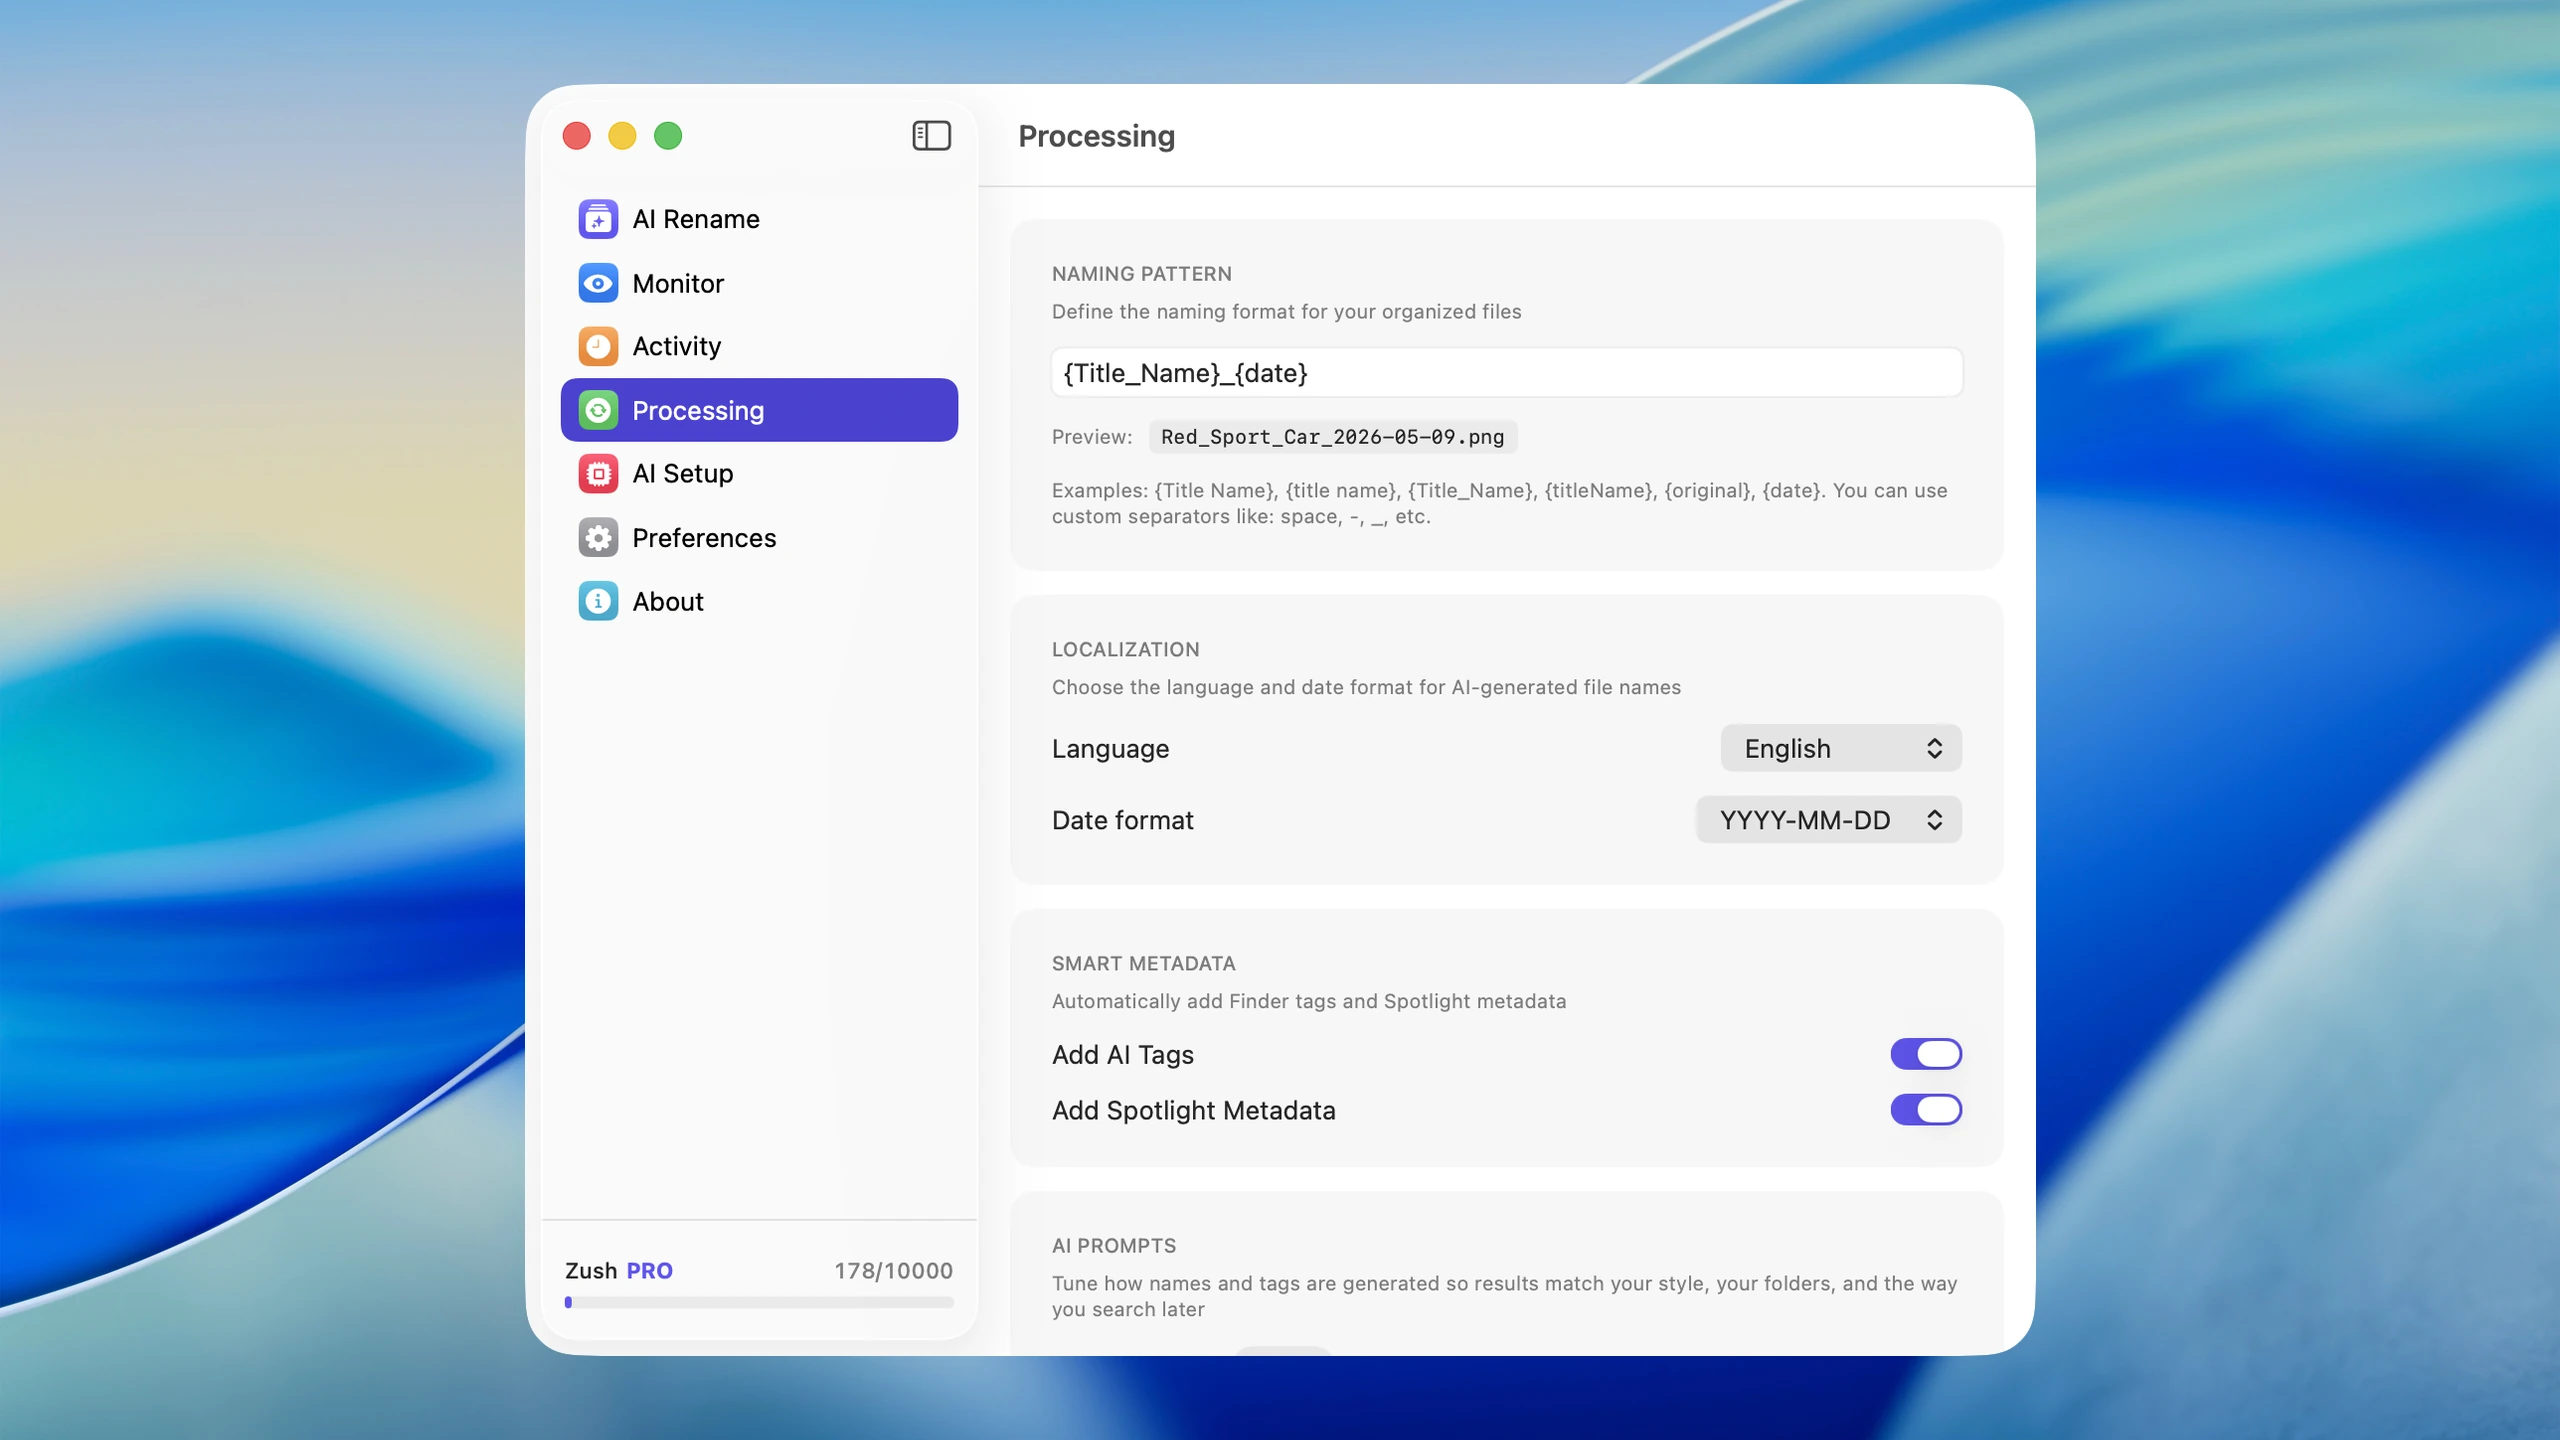
This works for personal photo libraries, travel archives, and year-over-year collections because each semester or year becomes easy to archive when it ends.
A lighter variant uses Year > Event without the month layer, which works when your library is smaller and you do not want extra nesting.
Project or event-based organization
Best when you think in terms of client work, trips, shoots, or campaigns rather than calendar dates.
This approach works well for freelance work, photography jobs, and content production, where projects are the natural unit of organization rather than calendar months.
For example, one product shoot can keep originals, approved selects, and delivery files separate without scattering them across several date folders:
Photos/ Client-Work/ Acme-Launch/ 01-RAW/ 02-Selects/ 03-Exports/This is the worked example for step 2: every new Acme image enters one project folder, while the numbered subfolders keep the workflow in a stable order.
Apple Photos when library browsing matters most
Apple Photos is strong for timeline browsing, albums, and casual personal libraries. It works well for iPhone users and family photo libraries where app-based browsing is more natural than Finder folders.
The weakness is flexibility: Apple Photos is less useful if your workflow depends on direct file access in Finder, mixed file types, or external drives.
Put dates in filenames, not just folders
Date-based organization gets stronger when you put dates directly into filenames. A file called 2026-03-12_IMG_4822.HEIC is better than IMG_4822, but 2026-03-12_sunset-over-lake.heic is much better still.
Useful when photos move between folders or get shared. The date travels with the file, so the context survives even outside the original folder structure.
For a March 12 Tokyo import, a portable sequence could look like this:
2026-03-12_tokyo-shibuya-crossing_001.heic2026-03-12_tokyo-shibuya-crossing_002.heic2026-03-12_tokyo-station-platform_003.heicIf those files leave the 2026/03-March/Tokyo-Trip/ folder, the capture day and subject still travel with them. That is the practical goal of step 4.
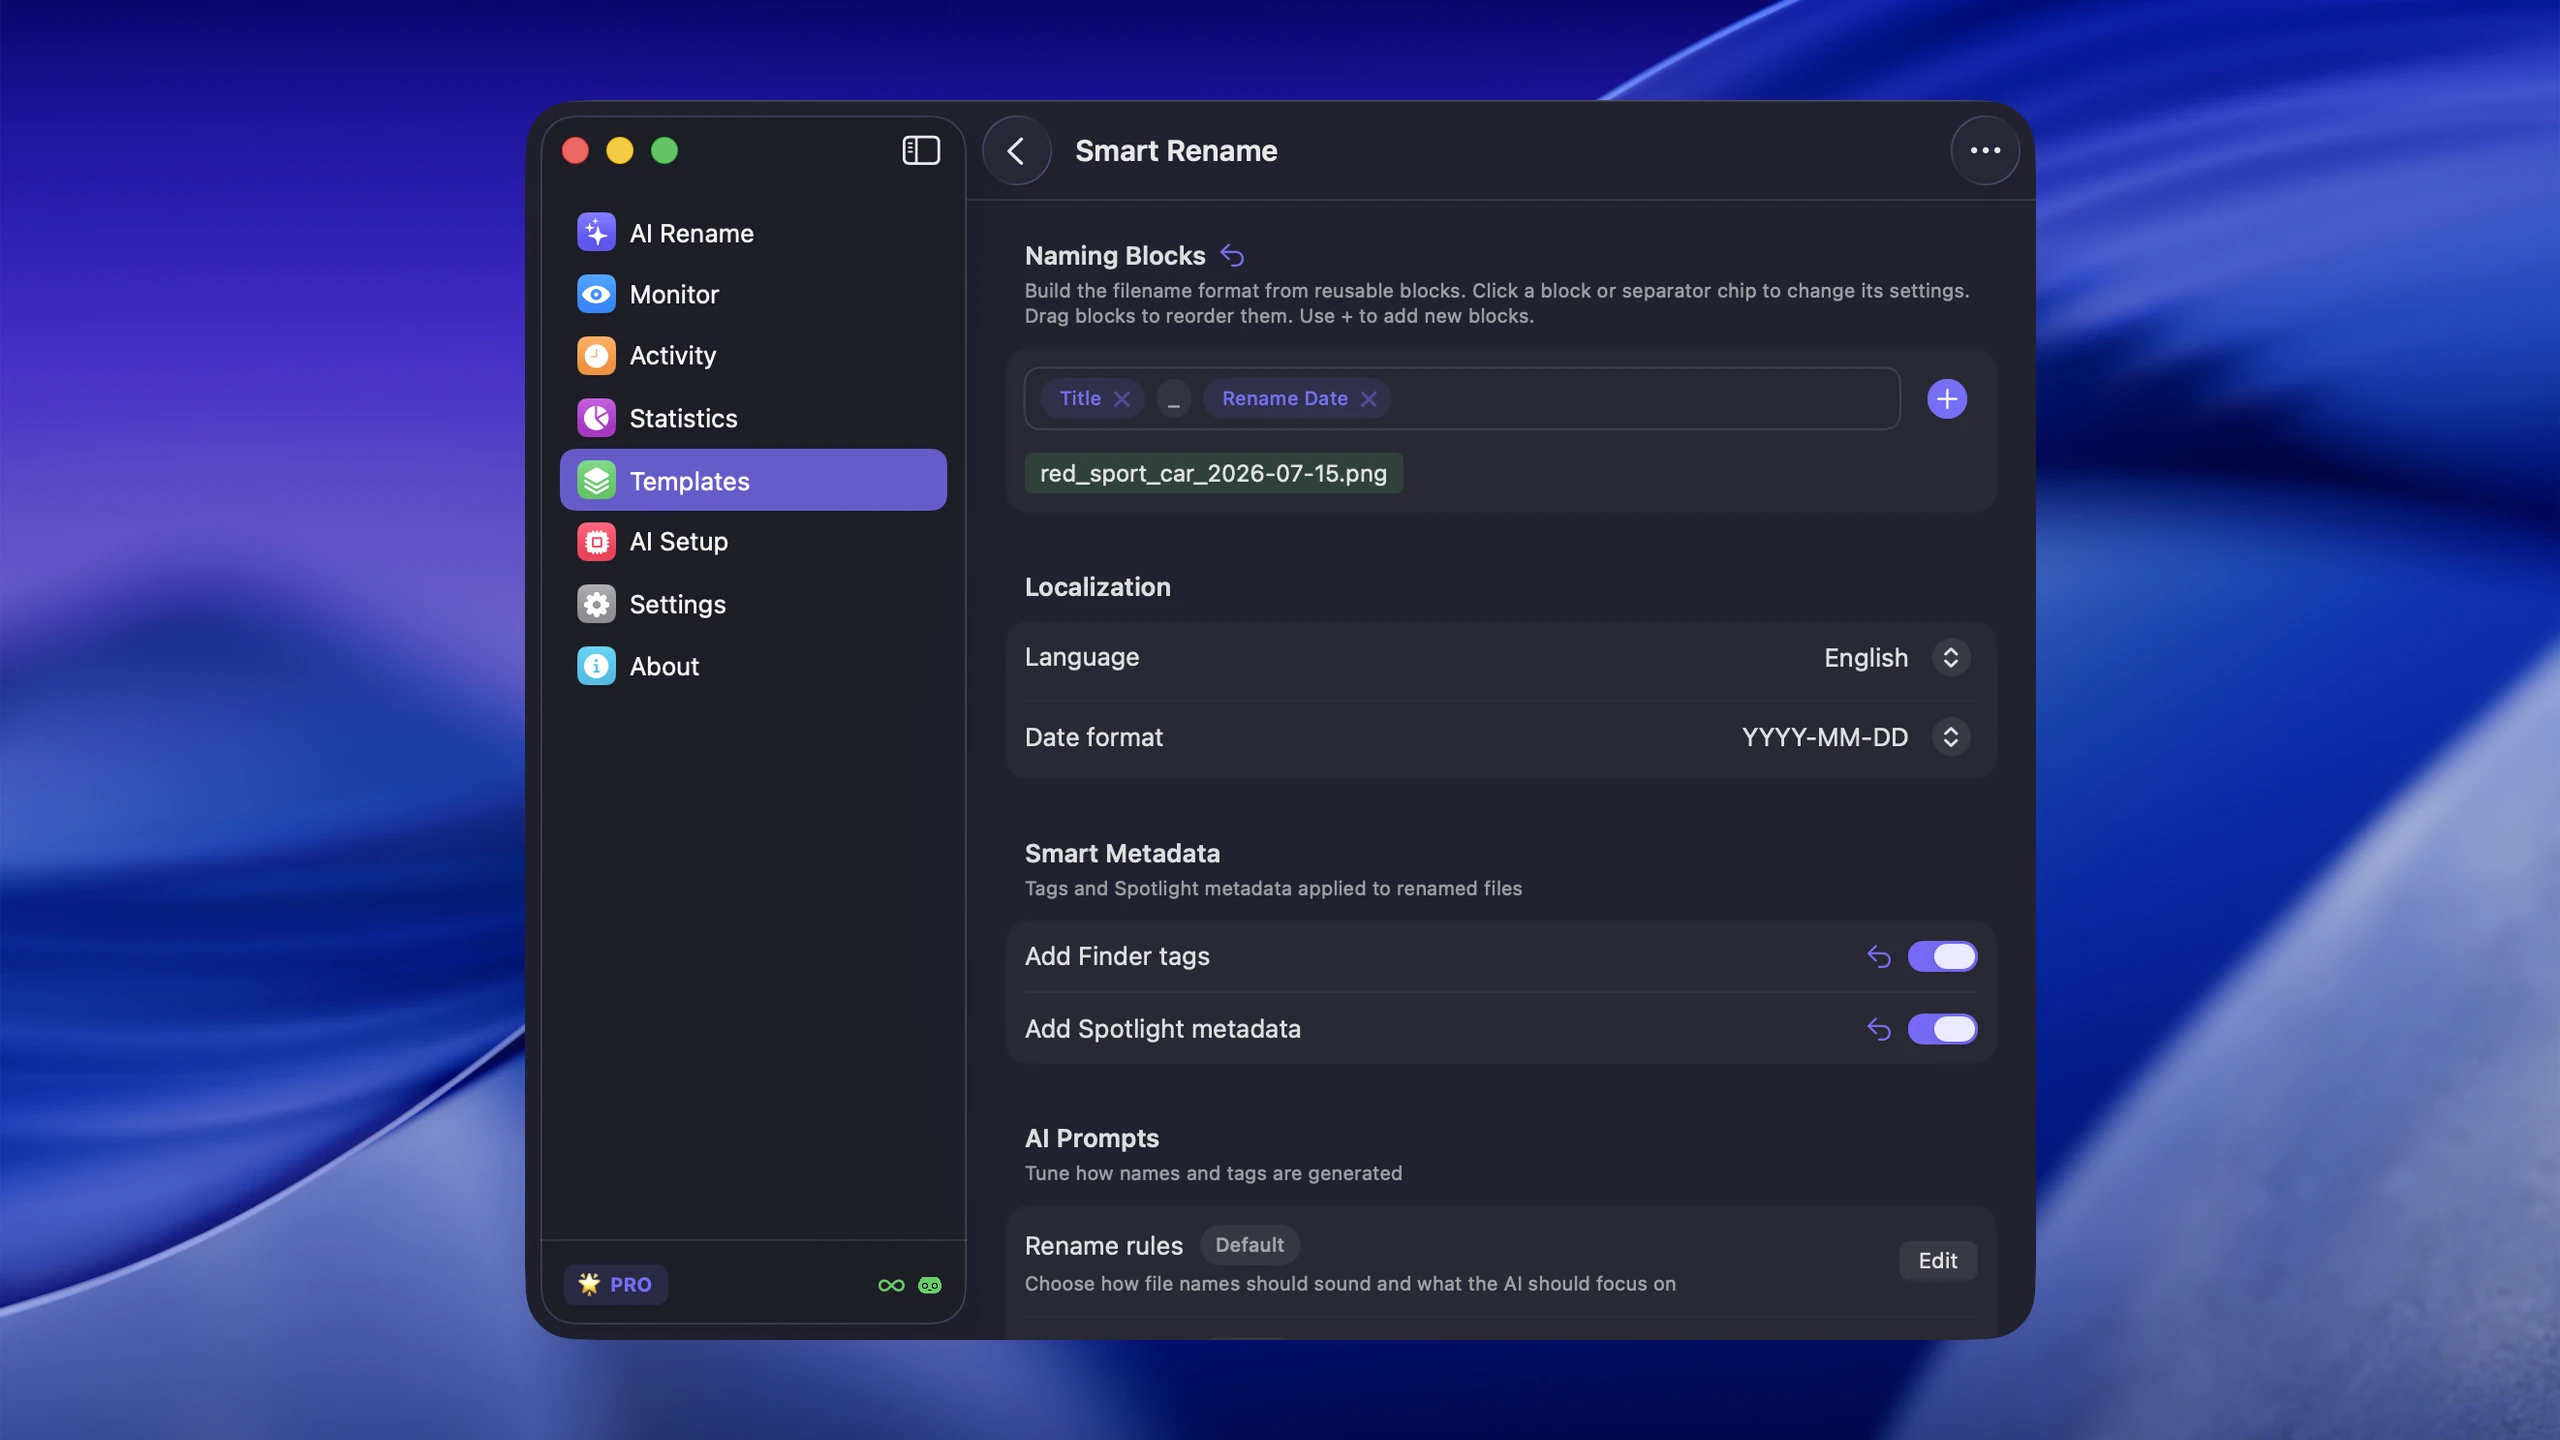
For large batches, manually adding dates to every photo is impractical. AI file renamer for Mac can generate descriptive filenames with date patterns automatically using custom naming templates, so every photo gets a meaningful name on import.
Make photos searchable with Spotlight and Finder
A folder structure helps when you browse within the right place. But the real test of photo organization is whether you can find a specific image when you do not remember where it lives.
Spotlight search
Spotlight is one of the fastest ways to find files on Mac, but it only works as well as the metadata it can search. If your files have useful names, tags, and dates, Spotlight feels instant. If everything is IMG_4382 and document (7), search gets much weaker.
The most useful Spotlight searches for photos:
| Query | What it finds |
|---|---|
kind:image beach | Images with “beach” in the filename or metadata |
kind:image date:2026-03 | Images created in March 2026 |
tag:client-alpha | Files tagged with a specific project tag |
sunset | Any file with “sunset” in the name |
For a concrete retrieval test, imagine you need a harbor sunset from March but do not remember the event folder. Search Spotlight for kind:image sunset, then narrow the results in Finder by date. If the file is named 2026-03-18_harbor-sunset.heic, the filename and date both help retrieve it without browsing the folder tree.
Finder search
Finder is better when you need multiple filters at once, such as image type plus date plus folder scope. Use Finder search when Spotlight returns too many results or when you need to narrow by specific location.
Why search often fails
Search is only as good as the text signals your files contain. A photo of a mountain named IMG_8392.HEIC gives Spotlight nothing to work with. That is why descriptive naming matters: it turns your photo library into something genuinely searchable.
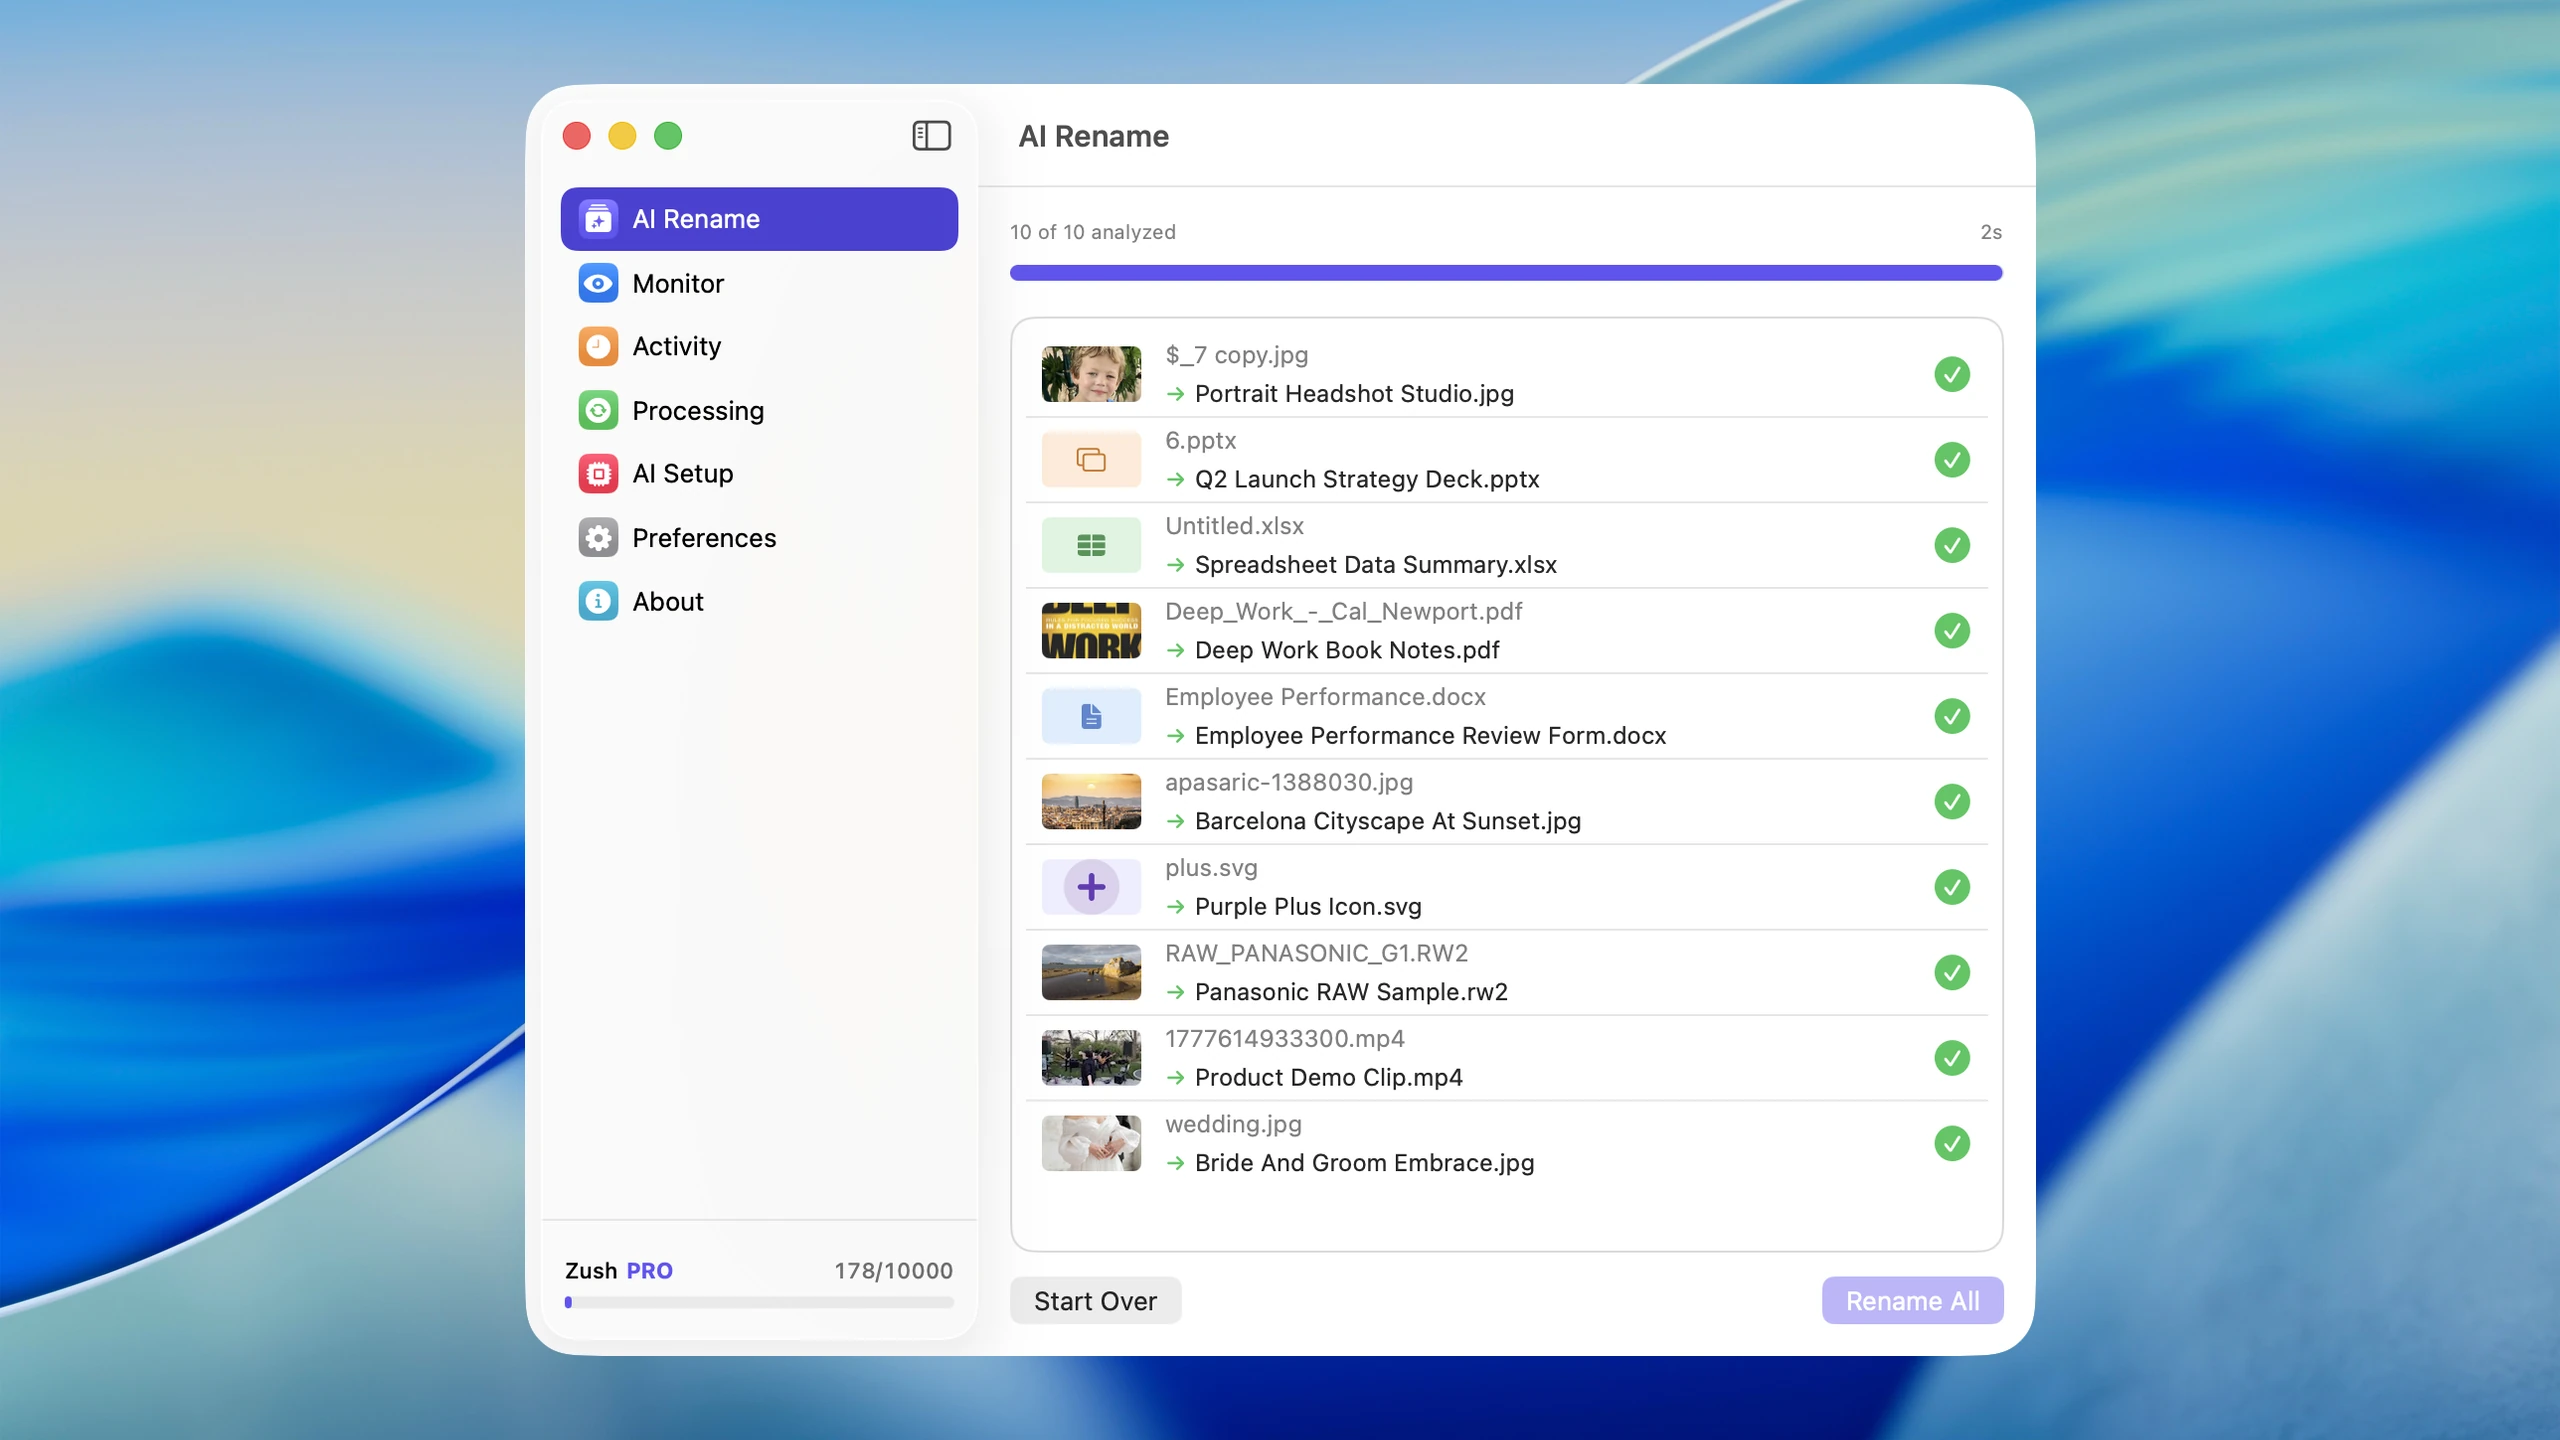
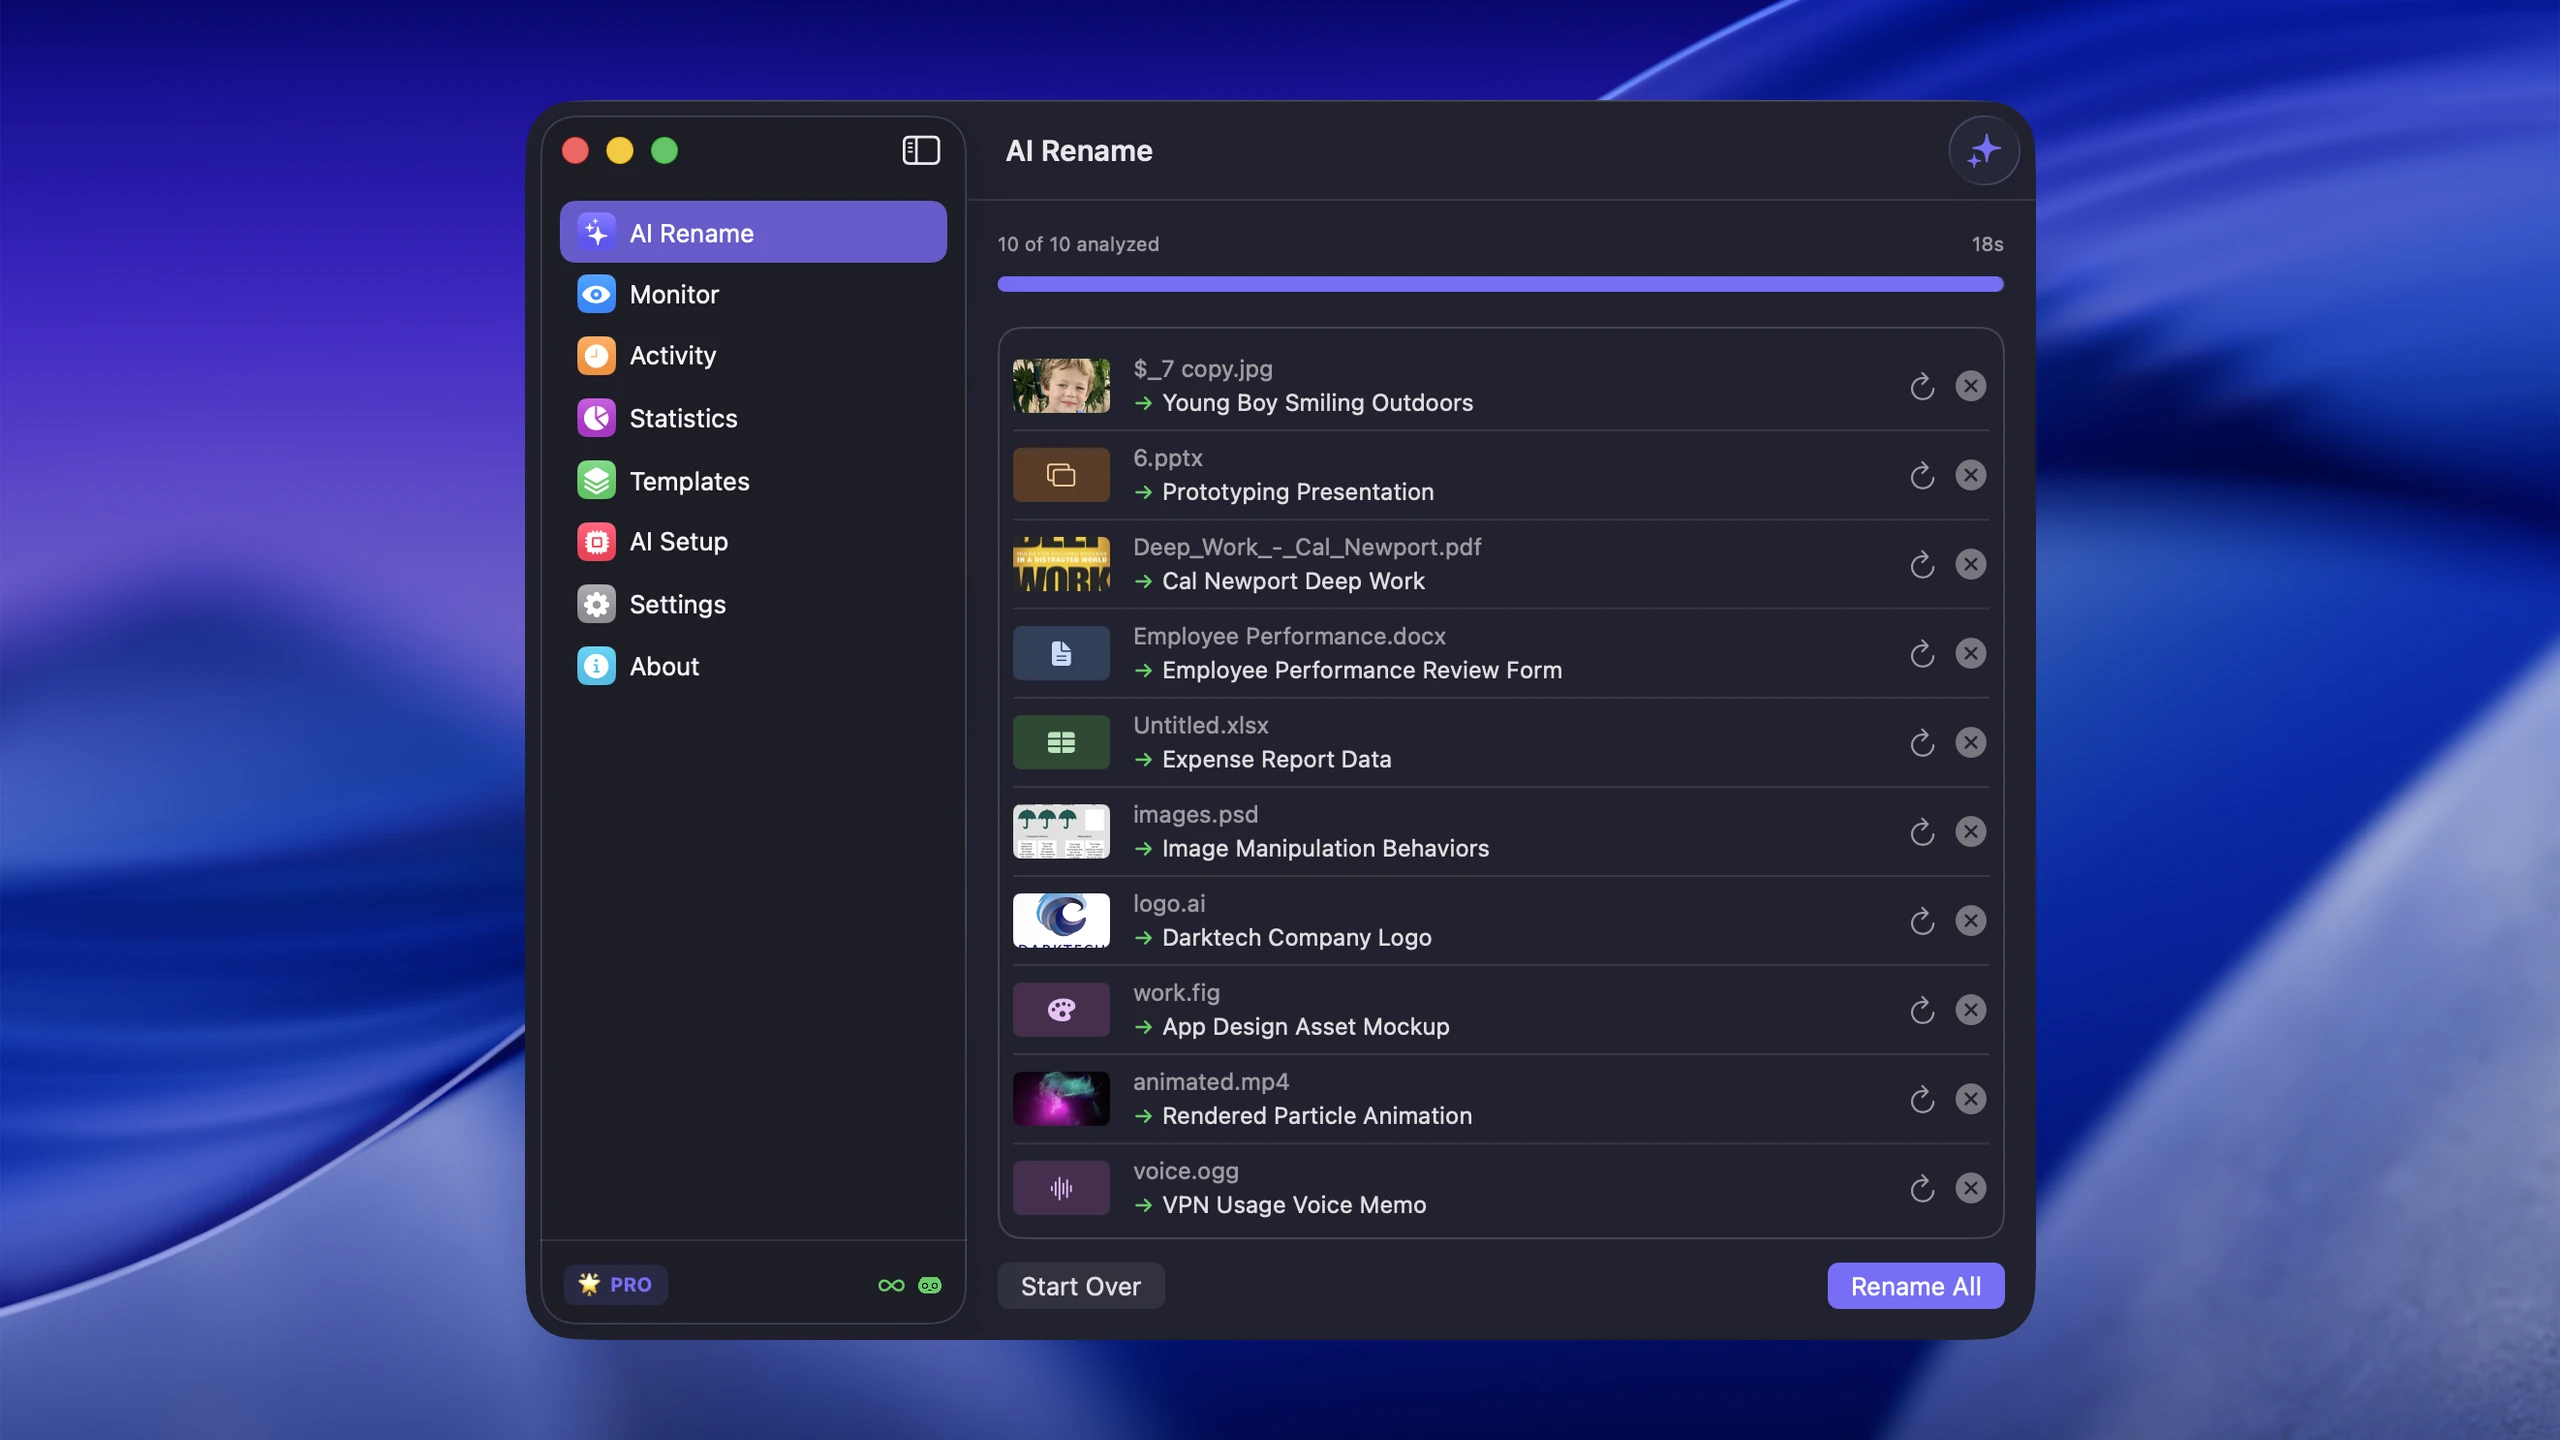
For image-heavy libraries, Zush helps by generating filenames, Finder tags, and Spotlight metadata that make photos findable later. Instead of opening each photo to check what it is, you can search for it by description.
Use Finder tags for cross-folder organization
Tags are useful when you need to retrieve files across folders. A tagged file can still live in its original location, but it becomes searchable by color or tag name across your system.
Good tag examples for photos:
- status tags:
to-edit,published,client-review - project tags:
wedding-smith,product-launch - content tags:
portrait,landscape,product-shot
Avoid creating dozens of overlapping categories. Tags stop being useful when there are too many to remember.
For example, keep 2026-06-04_acme-product-flatlay_017.cr3 inside the Acme project folder and tag it client-review. When the client approves it, replace that status tag with approved; the file stays in the same folder and the tag reflects workflow state instead of duplicating the folder structure.
Back up your photo library properly
If your photo backup strategy is “they are on my laptop and in the cloud somewhere,” you do not really have a backup strategy. Photos need redundancy, not hope.
The 3-2-1 rule
The classic backup rule is simple but effective:
- 3 copies of your data
- 2 different storage media
- 1 copy off-device or off-site
For most Mac users, that means:
- Working copy — the library you actively use on your Mac or external working drive
- Local backup — a Time Machine drive or manual backup that protects against accidental deletion and drive failure
- Cloud or off-site backup — iCloud, Backblaze, or another service that protects against theft, fire, and local hardware disasters
A worked 3-2-1 example for a 2 TB photo archive is: the working Finder library on an external SSD, a second copy on a Time Machine drive, and an off-site backup in a cloud backup service. The three copies are not all attached to the same Mac, so one lost laptop or failed drive does not remove the entire archive.
Common backup mistakes
- keeping only one copy and calling it “backed up”
- trusting iCloud sync as if it were a backup (sync propagates deletions)
- never testing restores to make sure backups actually work
- mixing working files and archives on the same drive without separation
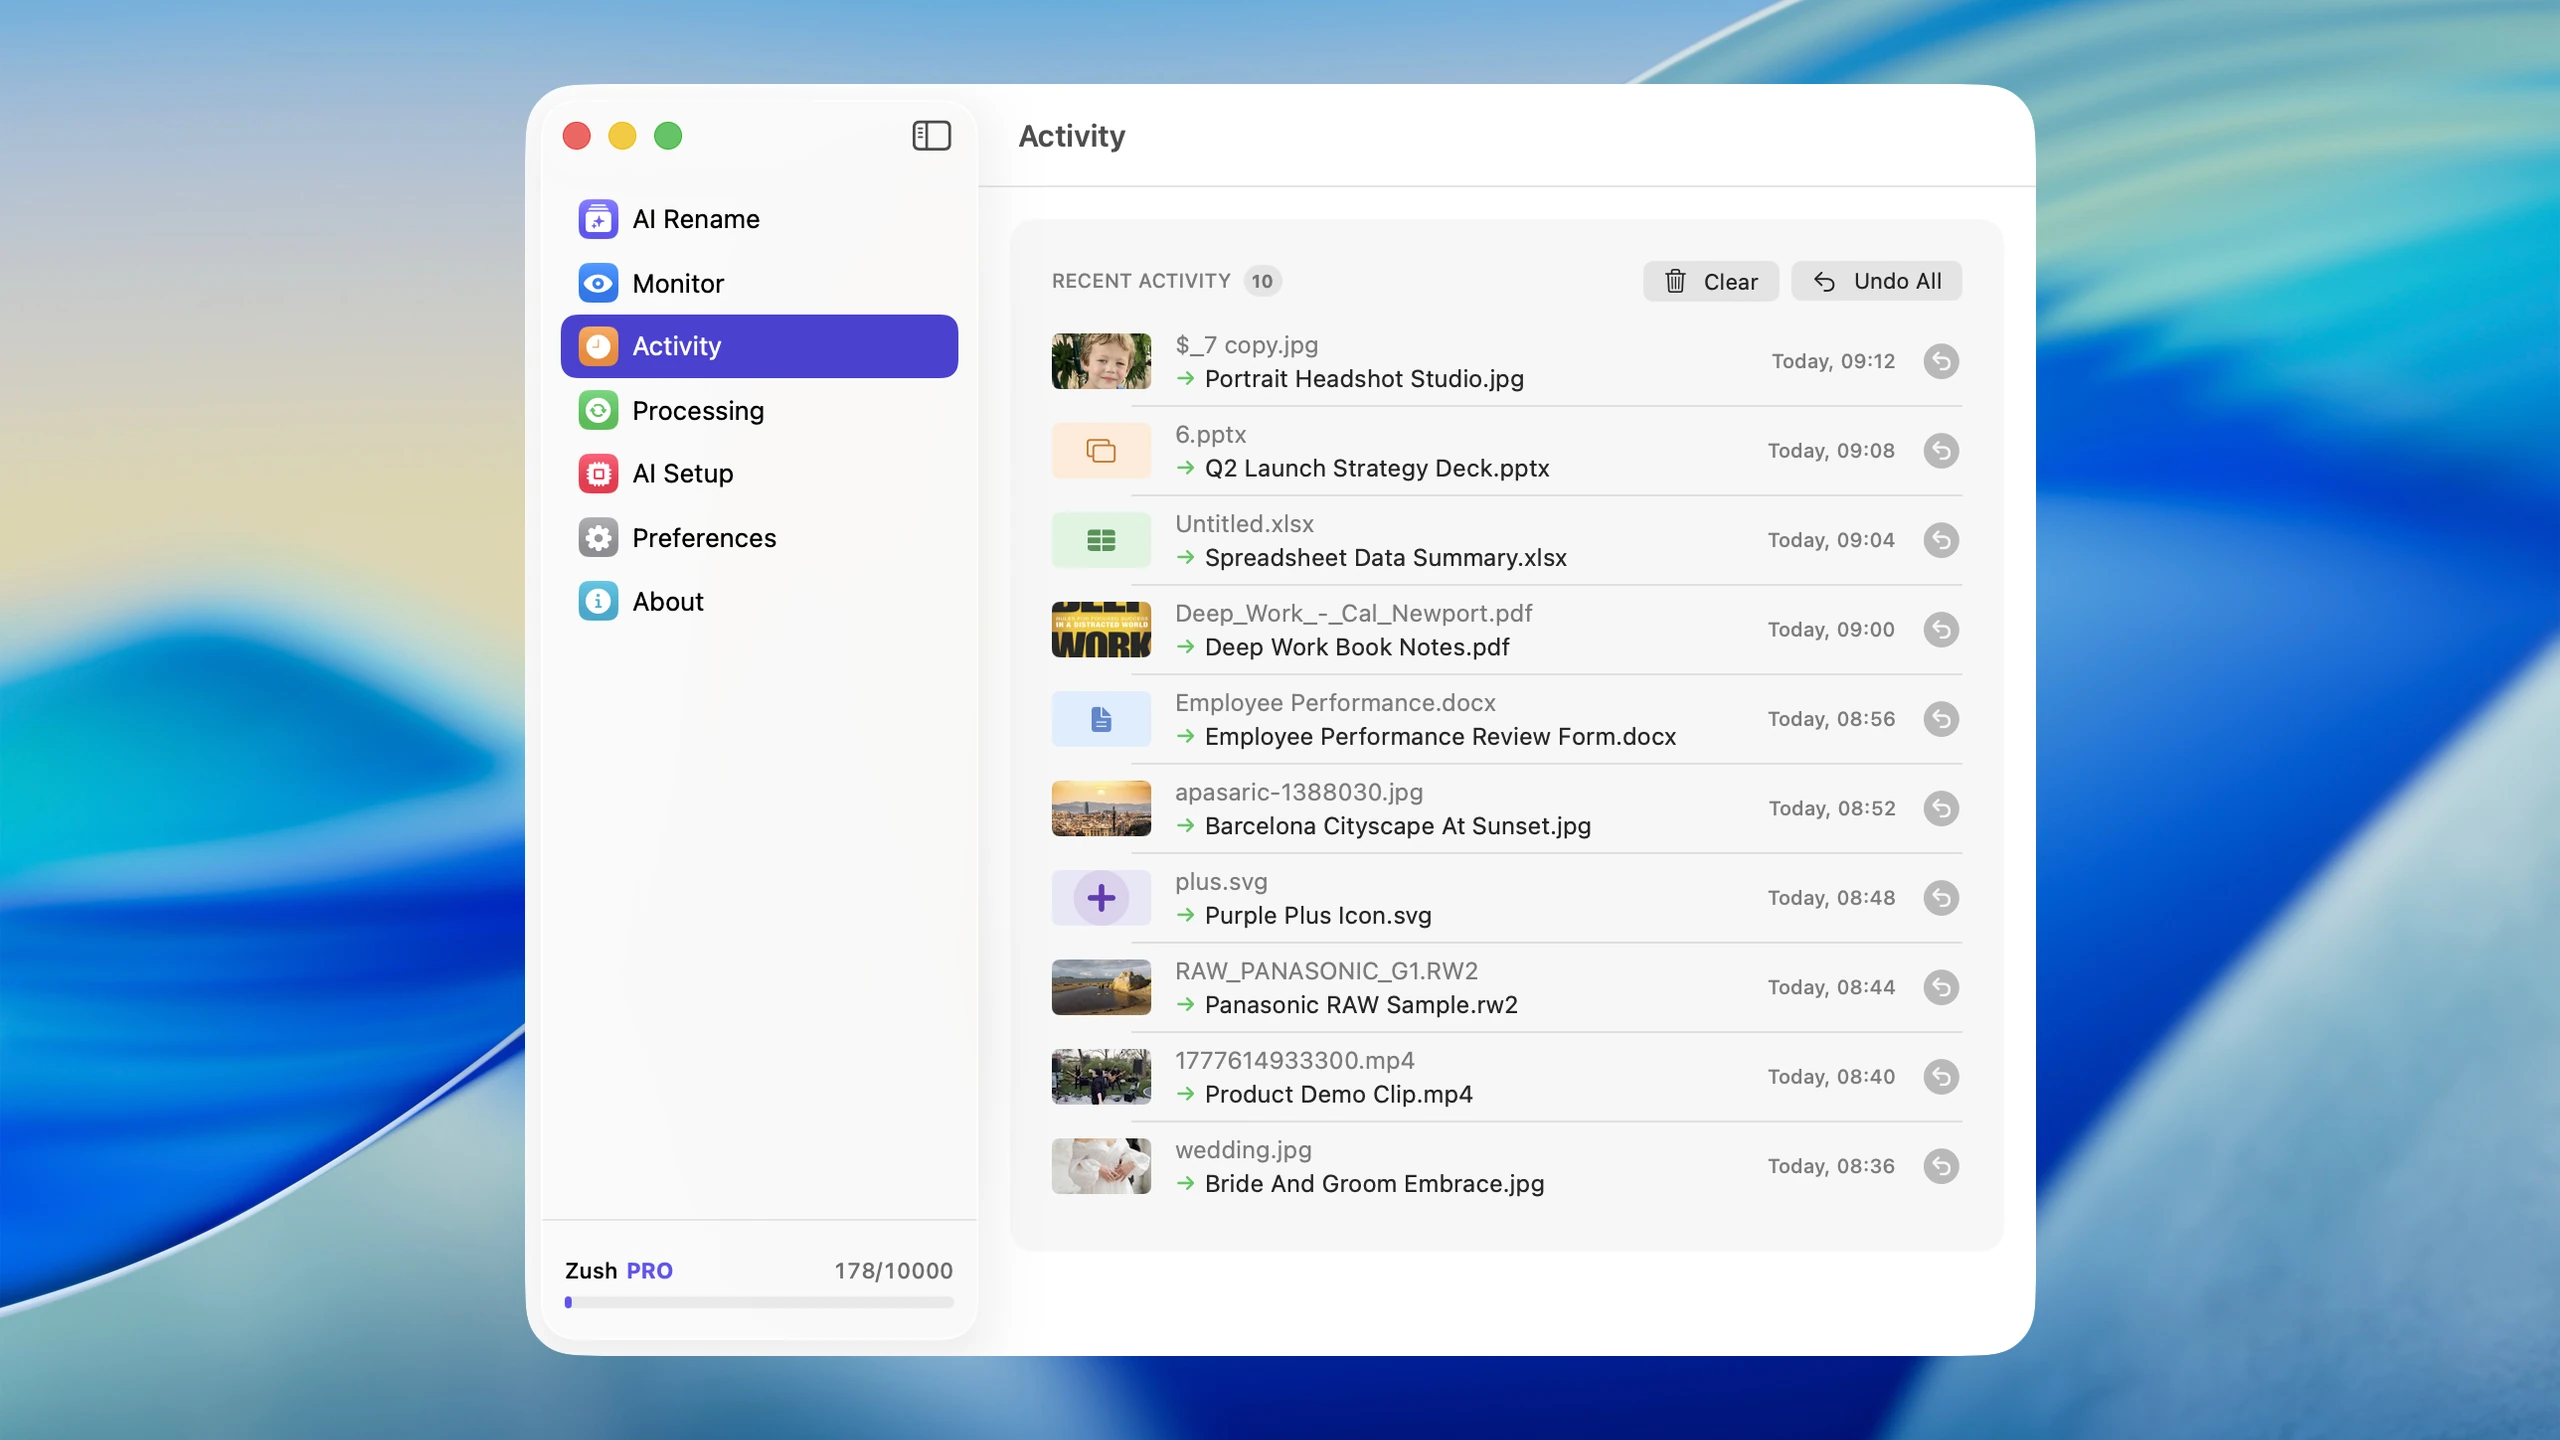
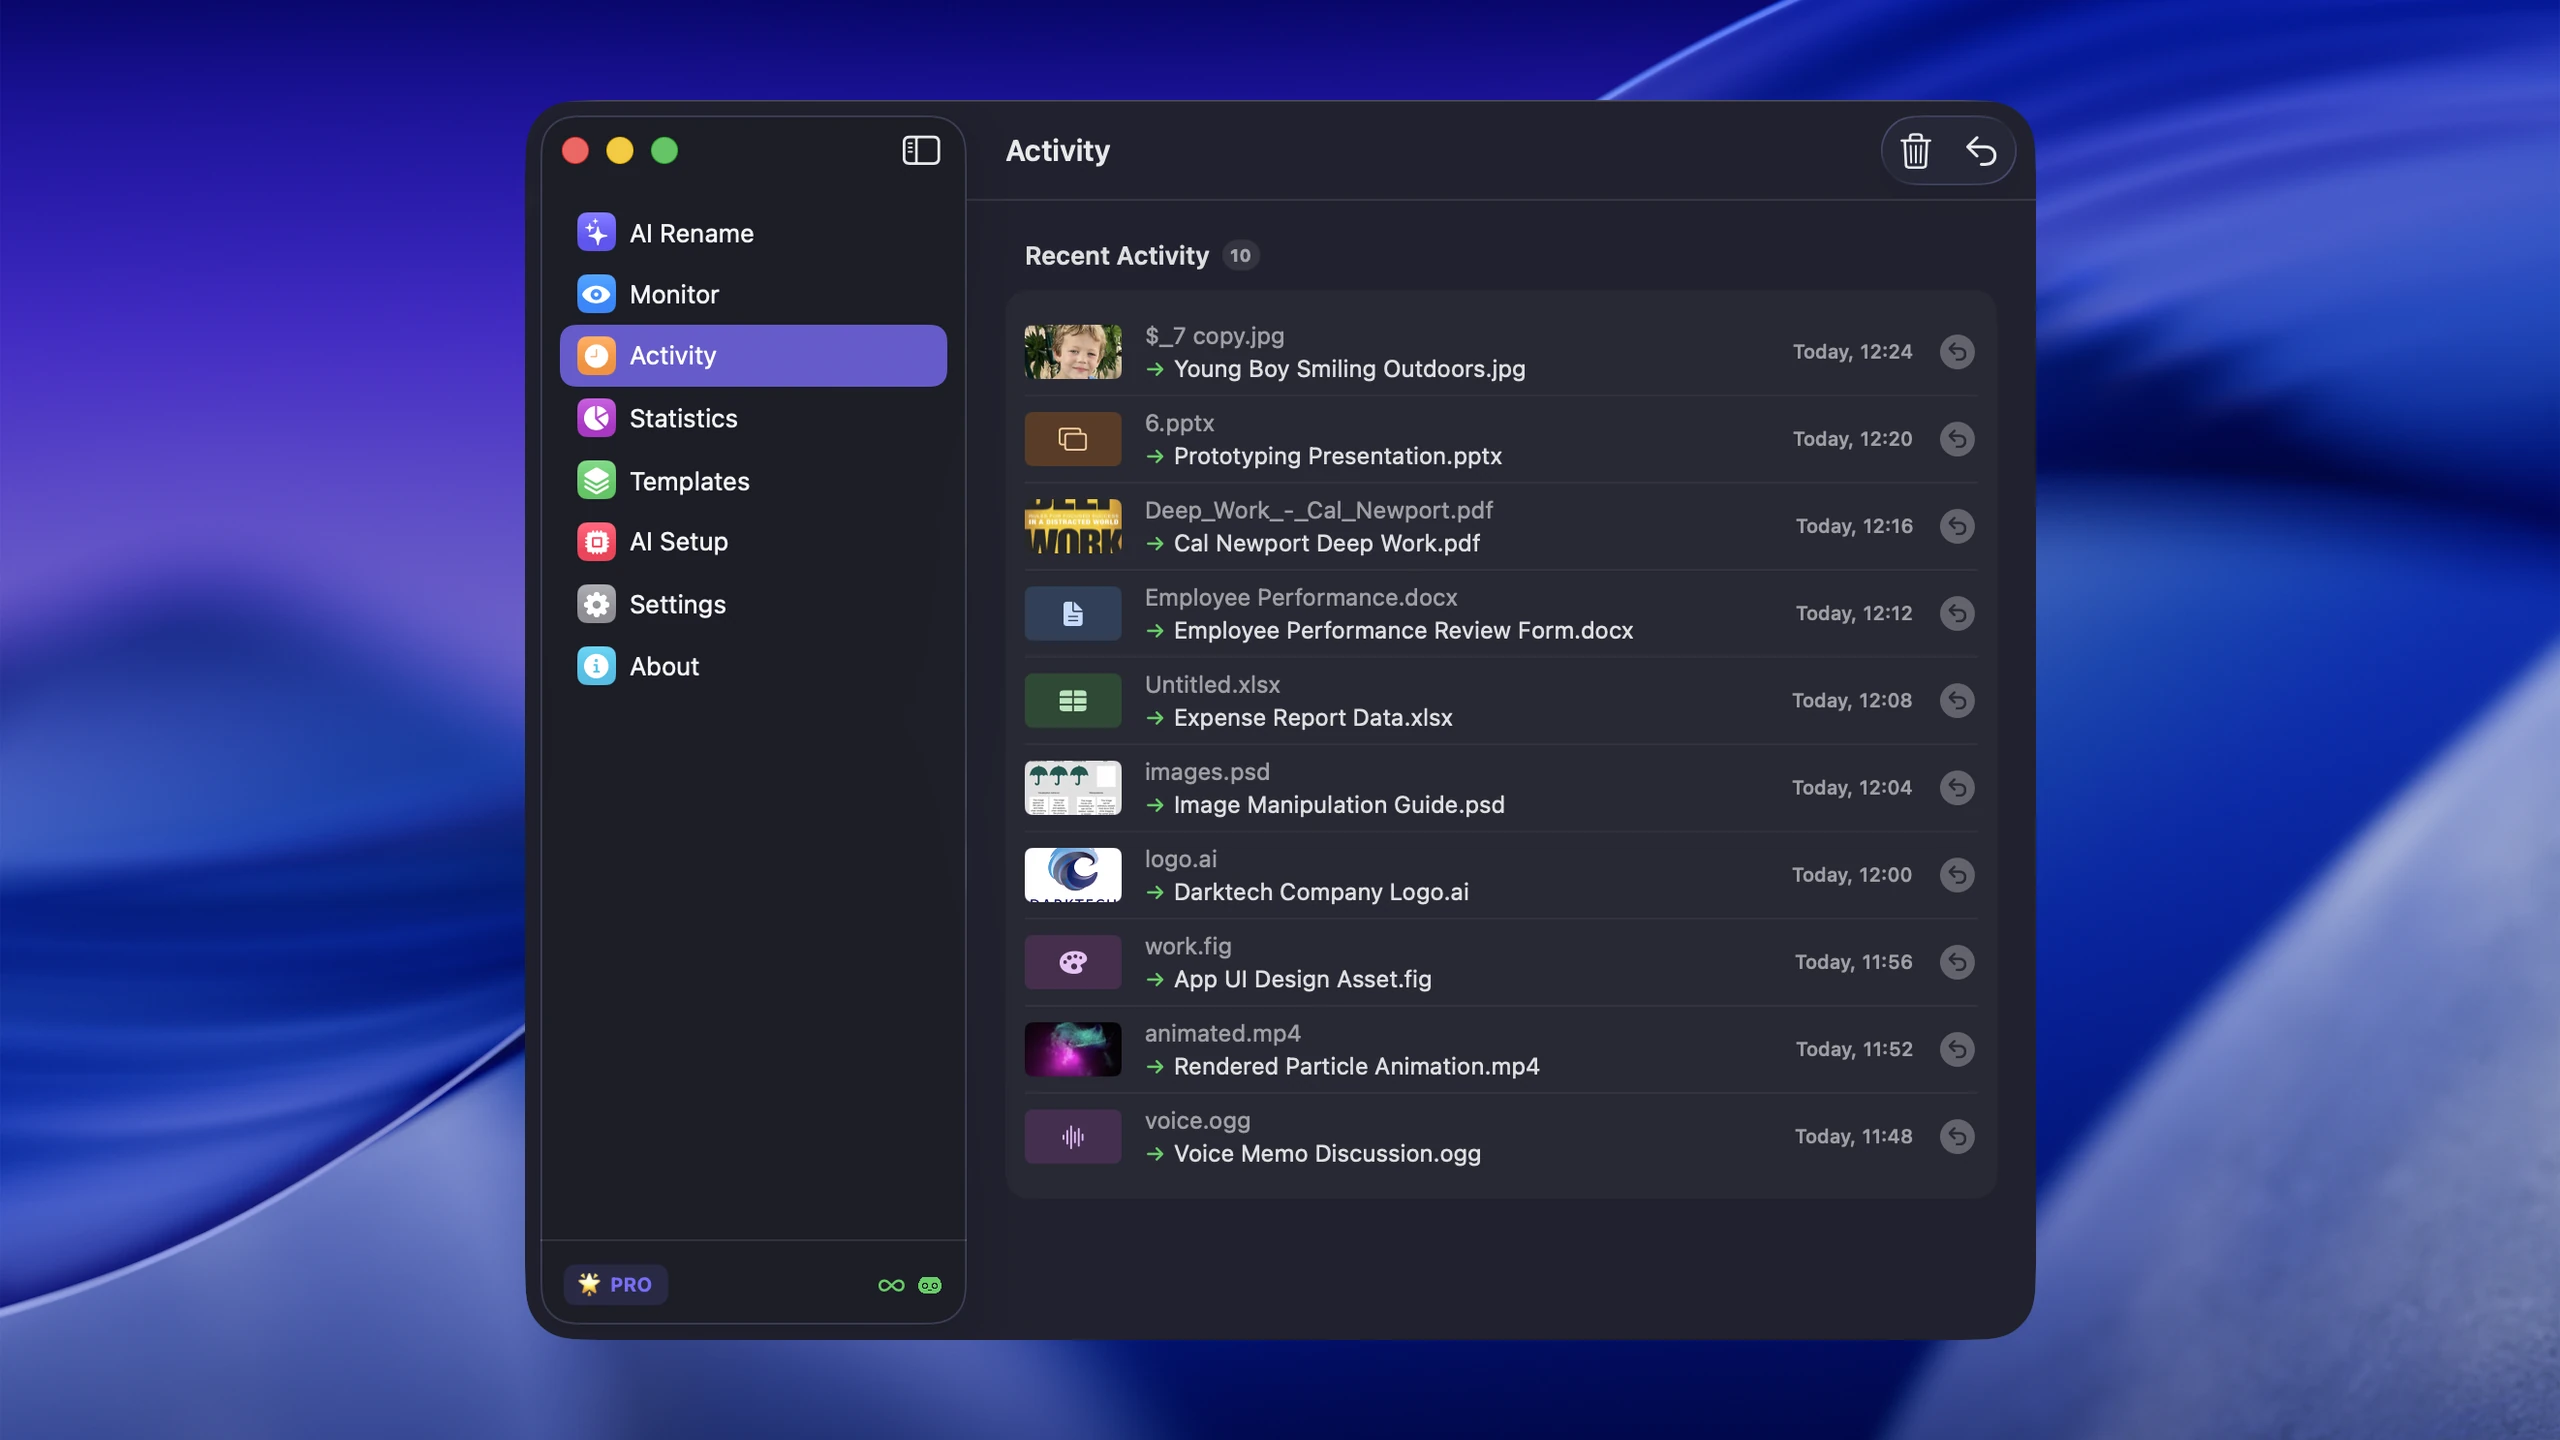
A backed-up mess is still a mess. Descriptive filenames and clean project structure make restores and later retrieval much easier, especially when browsing a year-old archive. Weak backup habits are only one way a library degrades — the rest are collected in 10 digital photo organization mistakes to avoid.
When to use AI-assisted naming
Manual renaming works for a few photos. It stops working at folder scale when you have hundreds of images from a trip, event, or download folder.
AI-assisted naming helps most when:
- filenames are generic camera codes (
IMG_,DSC_,Screenshot) - you need batch renaming for large imports
- photos need to be searchable in Spotlight and Finder
- you want consistent naming patterns across your library
For example, a mixed camera import can go from generic device names to reviewable, descriptive names in one batch:
| Before | After |
|---|---|
IMG_4382.HEIC | 2026-07-12_family-picnic-riverside.heic |
_DSC1044.NEF | 2026-07-12_red-kite-blue-sky.nef |
Screenshot 2026-07-12.png | picnic-location-map-route.png |
Preview the whole batch before applying it. If the pattern is too long or the description misses the subject, adjust it before any filenames change. For the image-specific step-by-step workflow, see how to rename images with AI on Mac.
AI file renamer for Mac can rename photos based on visible content, apply date-based patterns, and add Finder tags automatically. It supports 41 image formats including HEIC, AVIF, RAW (CR2, NEF, ARW, DNG), JPEG, PNG, SVG, TIFF, and WebP. PSD is handled separately as a supported design file format.
A repeatable import workflow for thousands of photos
Large libraries stay manageable when every import follows the same path. Use a temporary intake folder so unreviewed camera files never mix directly into the permanent archive.
- Copy into an intake folder. Create a folder such as
Photo-Inbox/2026-07-12-Camera-Import/and copy the card or phone export into it. - Confirm the copy. Check that the expected file count and formats arrived before changing filenames or clearing the source device.
- Separate obvious rejects and duplicates. Review exact repeats and failed shots in the intake folder, but do not delete similar images just because their thumbnails look alike.
- Rename with one pattern. Apply a date, subject, and optional sequence, then review the proposed names as a batch.
- Move the batch once. Place personal photos into the Photos import flow or move project files into their final Finder structure.
- Add only useful tags. Apply a client or status tag when it supports cross-folder retrieval; skip tags that merely repeat the folder name.
- Complete the backup. Verify the local and off-site copies before clearing the intake folder or memory card.
Here is what one intake-to-archive workflow looks like in Finder:
Photo-Inbox/  2026-07-12-Camera-Import/    IMG_4382.HEIC    IMG_4383.HEIC
Photos/  2026/    07-July/      Family-Picnic/        2026-07-12_family-picnic-riverside_001.heic        2026-07-12_family-picnic-riverside_002.heic
The intake folder answers “what has not been processed yet?” and the archive answers “where does this finished batch belong?” Keeping those states separate prevents half-renamed imports from leaking into the permanent library.
Handle duplicate photos without deleting originals blindly
Duplicate cleanup should be a review process, not an automatic delete pass. Exact copies are safer to evaluate than similar images because burst shots, edits, and resized exports can look nearly identical while still serving different purposes.
Use this order:
- Back up the library before removing anything.
- Review the Duplicates view in Apple Photos or compare suspected copies in the Finder-managed library.
- Check filename, dimensions, file size, format, and capture date before choosing which copy to keep.
- Keep the highest-quality original when an edited or compressed export also exists.
- Empty Recently Deleted or Trash only after confirming the retained files open correctly and exist in the backup.
For example, IMG_4382.HEIC, IMG_4382-edited.jpg, and IMG_4382-small.jpg are related, but they are not interchangeable duplicates. The HEIC may be the original, the JPG the finished edit, and the smaller JPG a delivery copy. A safe system keeps their roles clear instead of deleting two files based only on a similar preview.
The best practical setup for most users
For a folder-based archive, use the following checklist. A managed photo library can instead use albums and its own browsing tools:
- Date-based top-level structure —
Year/Month/EventorYear/Event - Event or project subfolders — named by what happened, not by camera or device
- Descriptive filenames — either manually or with AI-assisted batch renaming
- Finder tags — only for workflows where cross-folder retrieval matters
- Regular backup — at minimum Time Machine plus one cloud service
- Consistent naming patterns — dates in filenames when photos travel between folders
Frequently asked questions
What is the best photo organization method on Mac?
Use Apple Photos for a managed personal library, Finder folders for a portable archive, or a hybrid setup for both. Zush helps with descriptive filenames and optional AI folder groups (beta); it does not replace albums, face search, duplicate review, or backup.
Should I use Apple Photos or Finder folders?
Choose Apple Photos for albums, people and iCloud browsing. Choose Finder folders when you need direct access to originals, sidecars and client projects. Keep separate backups with either approach.
How do I make photos searchable in Spotlight?
Spotlight indexes filenames, metadata, and tags. The most effective way to improve photo search is to replace generic filenames (IMG_4822) with descriptive ones (sunset-over-lake-pacific-coast) so Spotlight has useful text to match against.
How often should I back up my photos?
Back up continuously if possible (Time Machine or cloud sync). At minimum, back up after every major import session, trip, or project. Test your backups periodically by restoring a few files to make sure the process works.
How do I organize photos on Mac without using the Photos app?
Use Finder folders with a stable Year/Month/Event or Year/Project structure. Add descriptive filenames, keep a small set of Finder tags for workflow status, test retrieval in Spotlight, and back up the folders to local and off-site storage.
How do I organize thousands of photos automatically?
Use a repeatable intake workflow and automate the repetitive parts: date-based folders, batch filename previews, consistent naming patterns, and backup. Review proposed names and duplicates before applying or deleting anything so automation does not turn a small mistake into a library-wide change.
Conclusion
Use Apple Photos for a managed personal library, Finder folders for a portable archive, or a hybrid setup for both. For files with generic names, use the Zush photo renamer to preview descriptive names before applying them.


