How to Organize Employee Onboarding Documents

Jump to section
Quick answer: put incoming onboarding documents in one controlled intake folder, name them EmployeeID – YYYY-MM-DD – DocumentType – Status, review the batch, and then move or import each approved record into the organization’s HRIS or document system. Keep restricted document classes separate when their access or retention rules differ, and track completion in an onboarding checklist rather than trying to encode the whole process in filenames.
This workflow covers the file layer around onboarding: signed offers, employment agreements, tax and payroll forms, benefits elections, policy acknowledgments, identity documents, equipment agreements, and training certificates. It does not replace the HRIS, e-signature system, payroll platform, identity verification process, or the organization’s records policy.
Sort approved onboarding copies into folders with AI
Zush can give supported files descriptive names and group them into real folders by content in the same batch. AI folder sorting is in beta on Mac and Windows. Leave Folder rules empty for Auto grouping, or describe the groups in plain language. For approved onboarding copies, try:
Group documents by document type. Put documents with no clear type in Review.
- Add a small copied batch in AI Rename and select a Template.
- Enable + Sort and choose the Destination folder, which is the root for the sorted subfolders. Without a separate destination, the source folder remains the root.
- Enter the grouping instruction in Folder rules. Naming Blocks set the filename format separately.
- Enable Reuse existing folders if suitable groups already exist inside the destination root. Zush can create a new folder when none fits.
- Review both the proposed names and folder groups. Correct folder names or file placement before applying the batch.
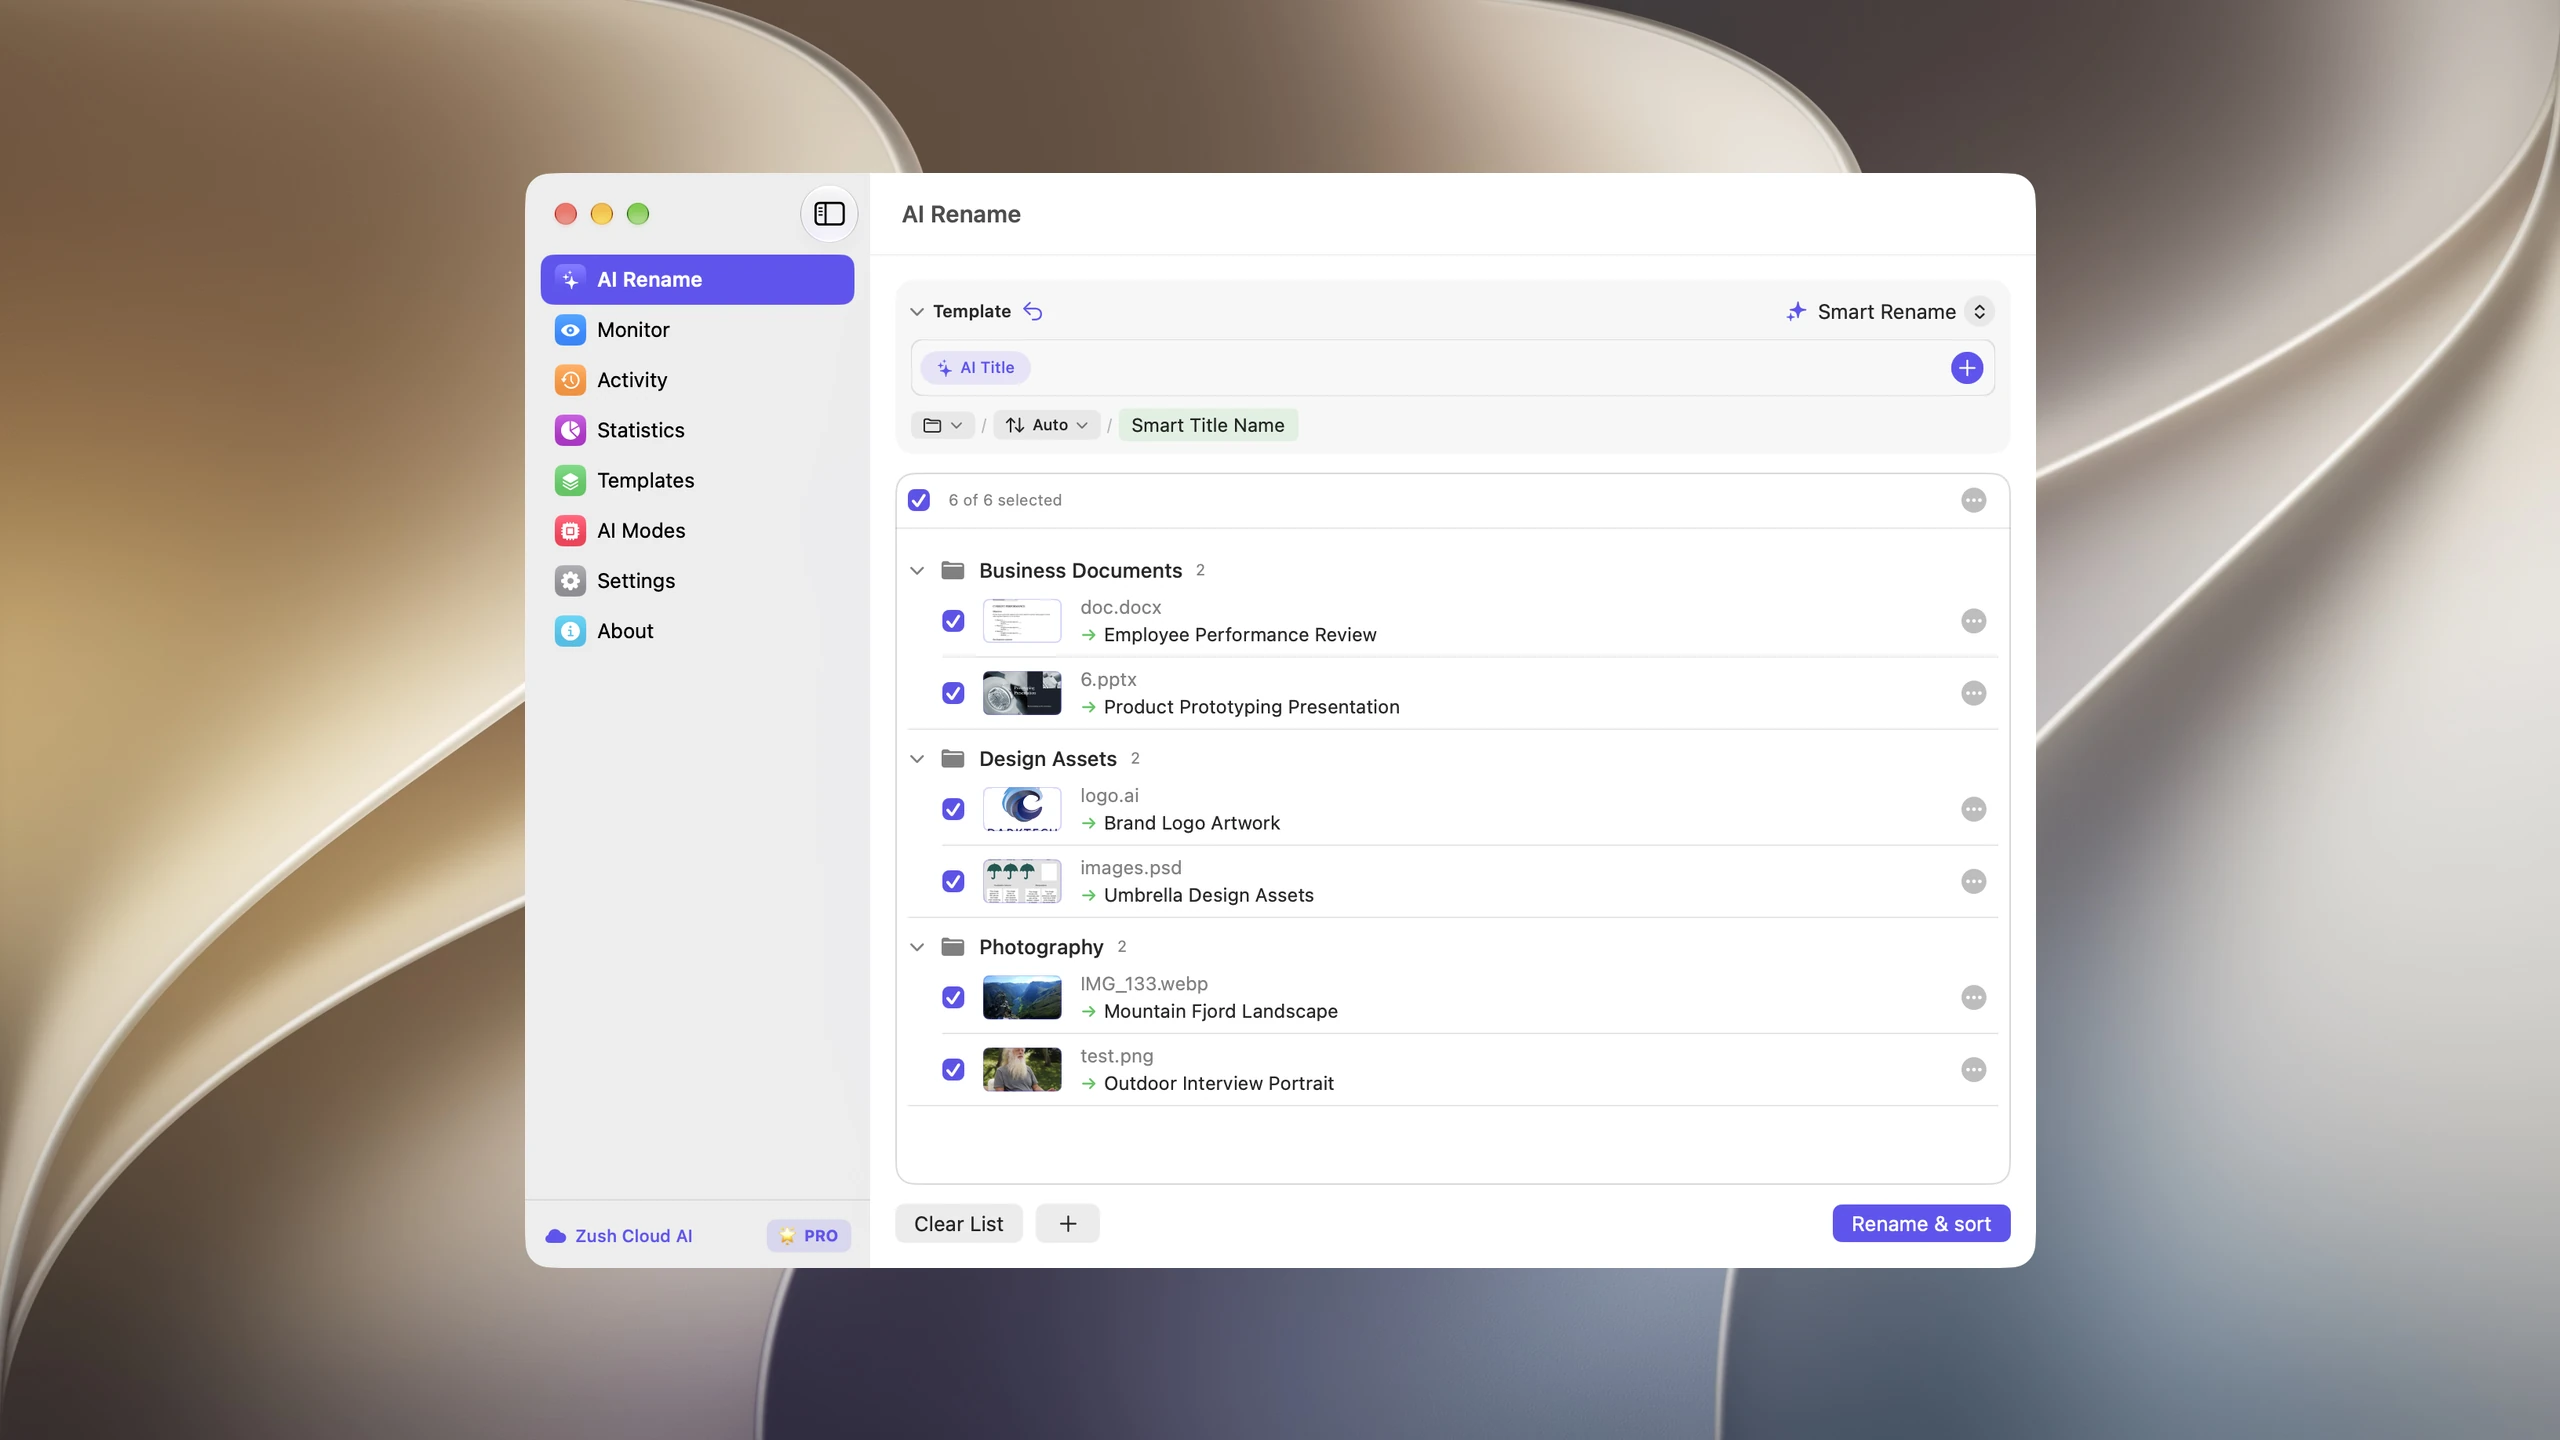
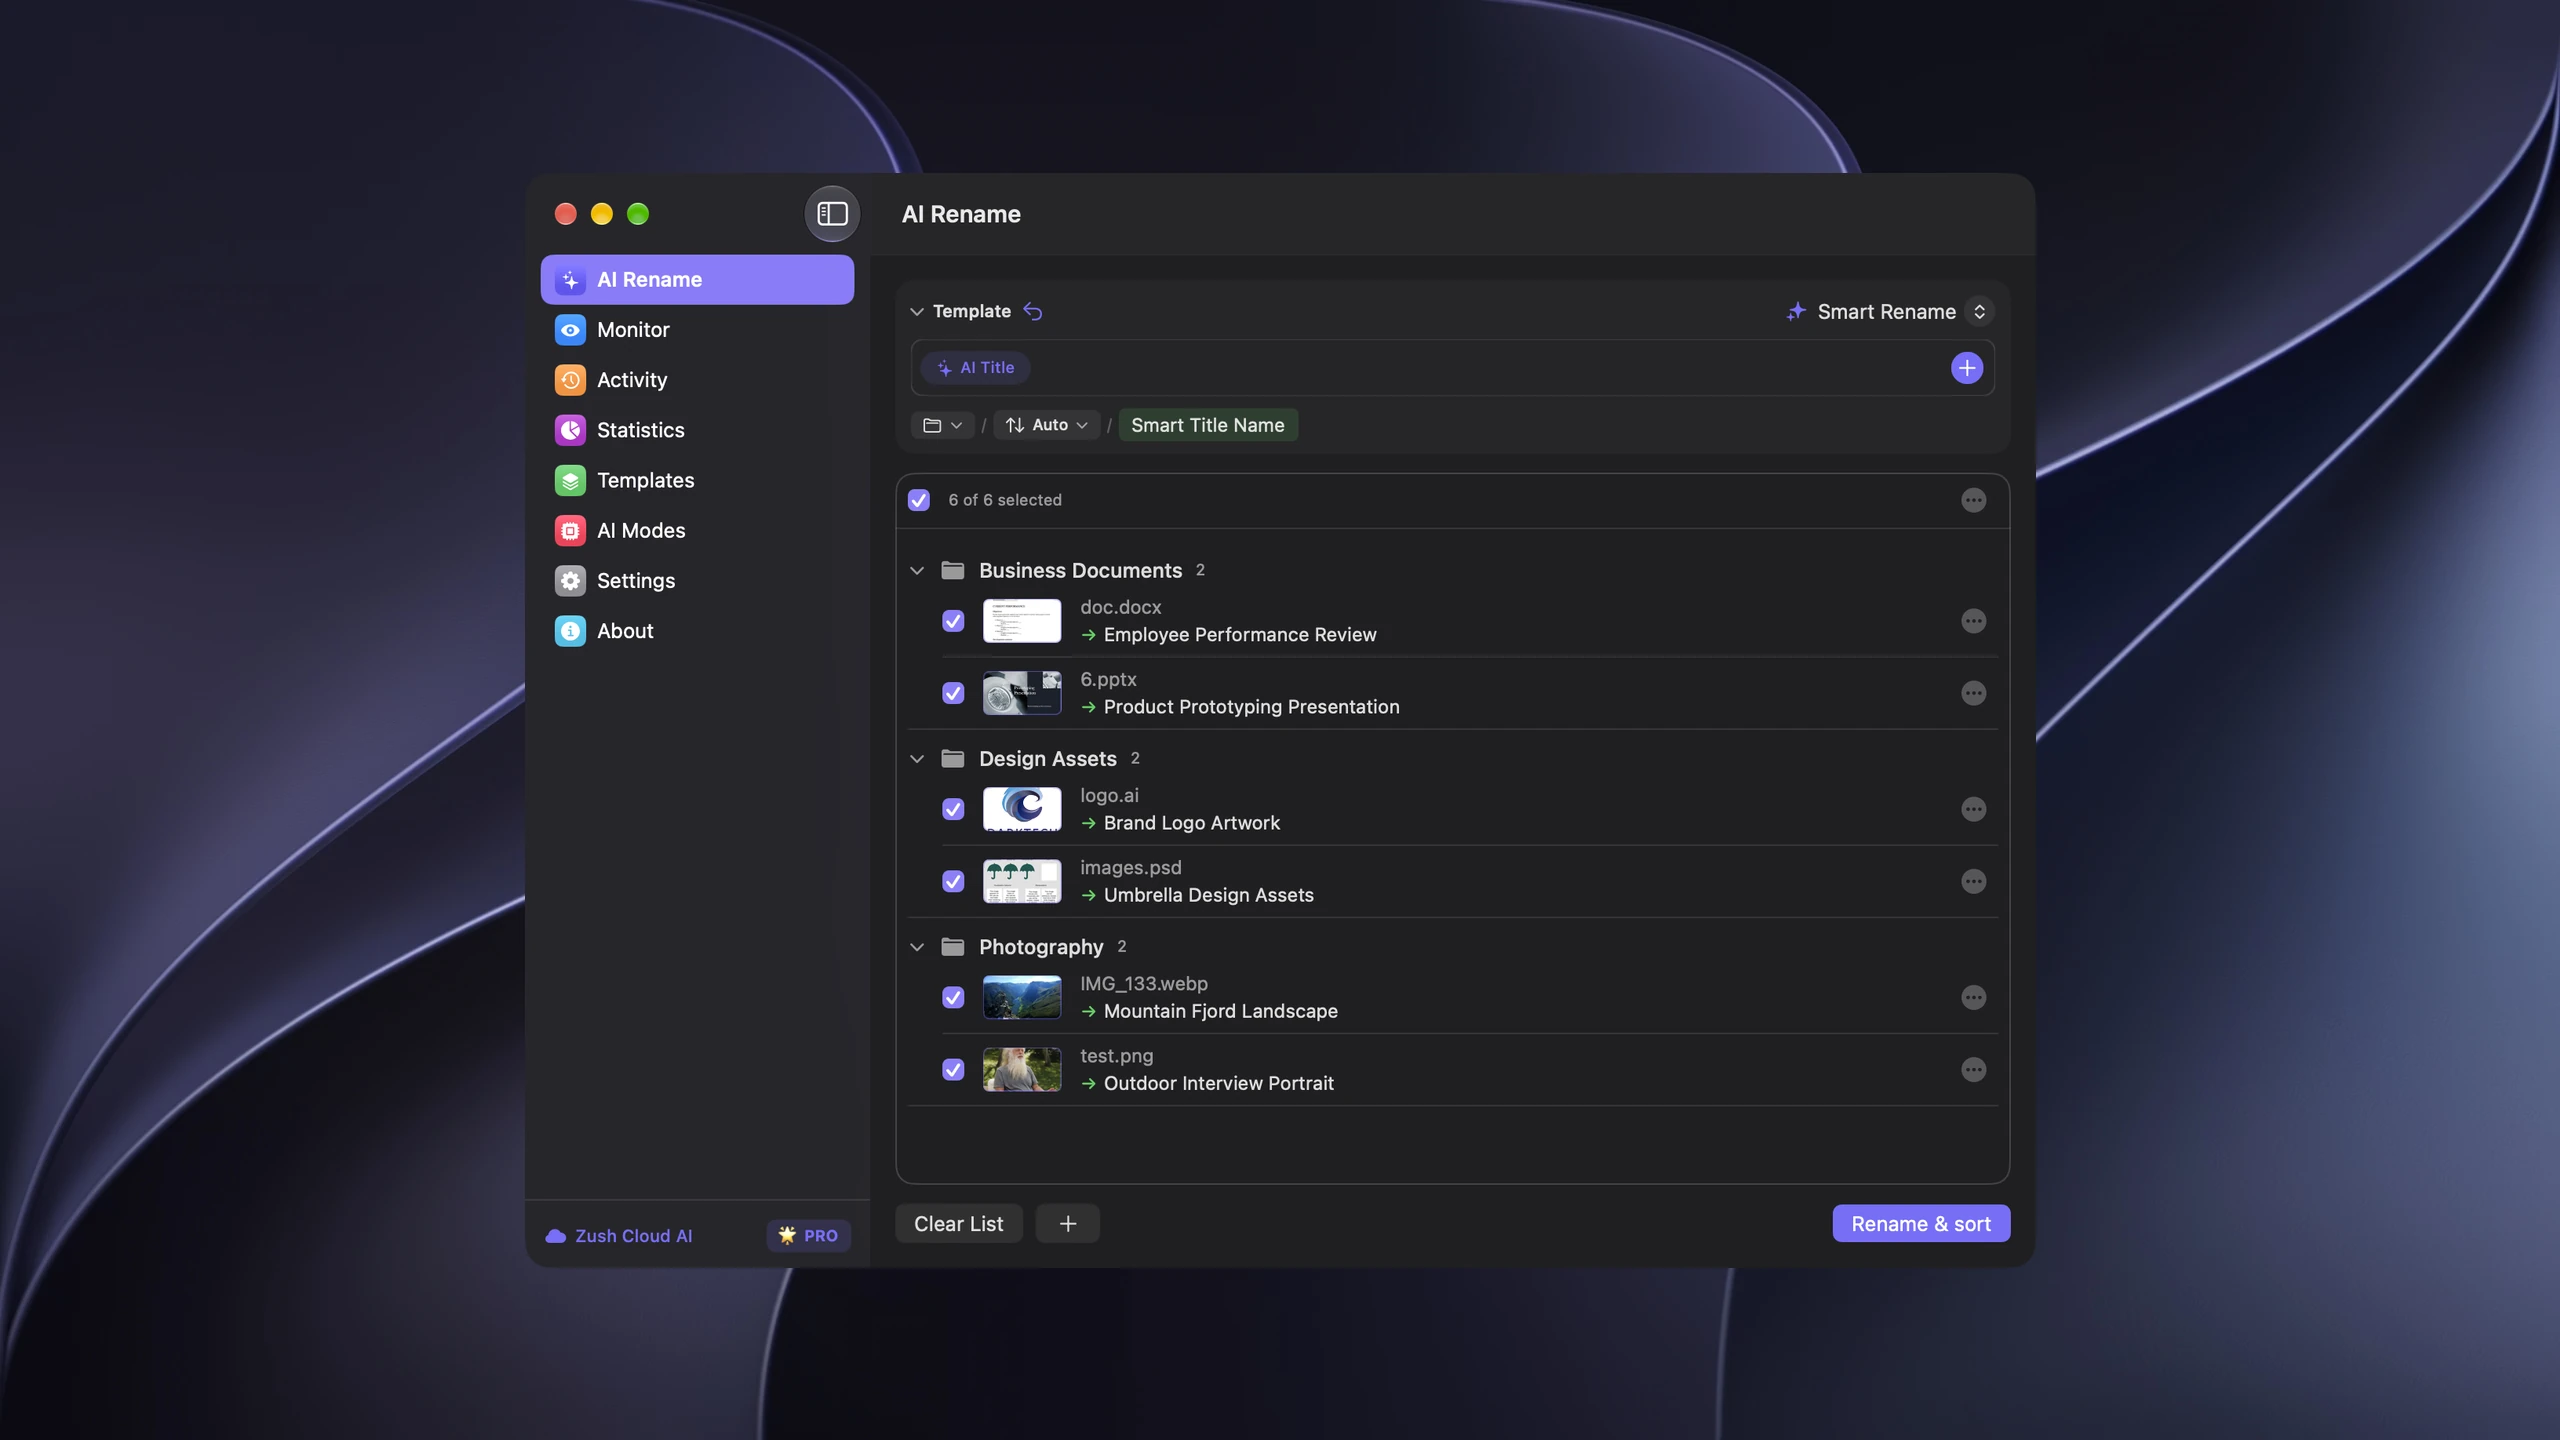
Save the tested destination and rules in the Template. Assign it to Monitor to rename and sort new files arriving directly inside the watched folder. This does not retroactively reorganize files already processed. With sorting off and the original destination selected, files keep their current folder.
Use sorting only for local copies whose placement you are authorized to change. Keep the official record system, access rules, and retention process in place. Review ambiguous identifiers; AI suggestions do not establish identity or record status.
Follow the step-by-step Mac sorting guide or see the folder sorting documentation and 30 example Folder rules.
1. Map where onboarding files arrive
Onboarding documents often appear in several places at once:
- e-signature downloads;
- email attachments returned by the employee;
- forms exported from an onboarding portal;
- scans made at an office or branch;
- files shared by payroll, benefits, IT, or facilities;
- certificates downloaded after required training.
List each source before designing the folder structure. The goal is not to centralize every system. It is to make the temporary file handoffs visible so that generic downloads such as document.pdf, signed.pdf, and scan_0032.pdf do not become permanent records.
2. Create one controlled intake location
Use a dedicated folder such as Onboarding Intake, accessible only to the people who handle those records. If document classes require different access, use separate intake folders rather than relying on filenames to create separation.
For example:
Onboarding Intake/ General Employment/ Payroll and Benefits/ Restricted Identity Documents/The exact split depends on the organization’s policies and jurisdiction. A filename convention improves recognition; it does not grant, restrict, or audit access.
The intake location is temporary. Approved files should move into the HRIS or other designated system, while exceptions remain visible for correction.
3. Assign the employee ID before bulk naming
Use the stable identifier from the HRIS as soon as the worker record exists. Names can change, collide, or be formatted differently across systems; EMP-1042 remains consistent.
Do not let automation infer an employee ID from a similar name. If a returned form lacks the ID, match it during the review step or hold it in an exception queue. False certainty is worse than a visibly incomplete filename.
4. Use a narrow onboarding naming Template
A practical starting pattern is:
{Employee ID} – {Document date} – {Document type} – {Status}Examples:
EMP-1042 – 2026-08-03 – Offer Letter – Signed.pdfEMP-1042 – 2026-08-05 – Benefits Enrollment – Completed.pdfEMP-1042 – 2026-08-05 – Equipment Agreement – Signed.pdfEMP-1042 – 2026-08-07 – Security Training – Completed.pdfThe full HR file naming guide explains field order and sensitive-data boundaries. For onboarding, keep the type list short and aligned with the checklist used by the team.
5. Keep the checklist outside the filename
A filename describes one document. It should not become the workflow database. Do not add suffixes such as needs-manager-review, send-to-payroll, or waiting-on-employee to the official record name.
Track process state in the onboarding system, task list, or approved checklist. Use the filename status only for the document’s own factual state, such as Signed, Acknowledged, or Completed.
This separation prevents workflow notes from being preserved after they stop being true and keeps the final employee record clean.
6. Test the naming rule on a copied batch
Choose 10–20 sample files that represent the real intake mix:
- a clean digitally generated PDF;
- a signed e-signature download;
- a Word document;
- an image-only scan;
- a photographed form;
- a multipage packet containing several sections;
- one ambiguous or low-quality document.
Run the Template against copies, not the only originals. Check whether the document date is the correct business date, whether the document type comes from the approved vocabulary, and whether the employee ID is explicit in the file.
For Zush, Custom AI Blocks can clarify fields in plain language: “the employee ID in format EMP-NNNN,” “the date the employee signed the form,” or “classify as one of Offer Letter, Benefits Enrollment, Equipment Agreement, Policy Acknowledgment, or Training Certificate.”
7. Choose the processing mode for the document class
Before using real onboarding records, decide how analysis is allowed to run:
- Offline AI uses a local Ollama model on the Mac or Windows PC running Zush. Supported file content stays on that machine.
- BYOK uses the provider account, model, API key, and terms selected by the organization.
- Managed AI is the fastest evaluation path for samples or document classes approved for that mode.
Use sample or synthetic documents when evaluating a mode that is not yet approved for personnel records. The privacy documentation explains what each mode processes.
8. Make human review the handoff
Before applying names, verify:
- the file belongs to the correct employee ID;
- the selected date is the business date, not the download timestamp;
- the document type matches the controlled vocabulary;
- the status reflects the document itself;
- the filename does not expose unnecessary personal details;
- multipage packets have not been misclassified from only the first page.
After the review, apply the batch and confirm it appears in rename history. Test undo once during rollout so the team knows how to recover from a Template mistake.
9. Add folder monitoring only after the Template is stable
Once repeated test batches produce reliable proposals, folder monitoring can watch an approved e-signature download or scanner output folder. Keep the monitored scope narrow and assign different Templates when document families use different fields.
Automation should reduce repetitive renaming, not remove the accountable review step. Low-confidence or unmatched records should remain visible rather than entering the employee archive under a plausible but wrong name.
10. Complete the intake into the system of record
Renaming is the preparation step. The organization still decides where each approved record is imported or stored, who can access it, how long it is retained, and when it is deleted. Zush does not enforce those rules. Zush offers optional AI folder sorting (beta); leave it off and keep the original destination when documents must stay in place.
A clean onboarding intake ends with three clear states:
- approved and transferred to the system of record;
- waiting for an authorized person to resolve an exception;
- removed from temporary intake according to policy after transfer is verified.
FAQ
What folders should HR use for onboarding documents?
Use one controlled intake area, then separate document classes when access or retention rules differ. Avoid deep permanent folder trees when the HRIS or approved document system is the actual system of record.
Should onboarding documents use the employee name or ID?
Prefer the stable employee ID. Add a name only when the approved workflow requires it and privacy policy permits it. An ID is less ambiguous and remains stable through name changes.
Can scanned onboarding forms be renamed automatically?
Yes. Zush can read image-only PDFs and photographed forms with AI vision, extract the fields in the Template, and propose names for review without a separate OCR pass.
Should tax, benefits, and identity documents share one folder?
Only if the organization’s access and records policies allow it. Separate intake folders are safer when document classes have different handling rules. Filenames alone are not an access-control mechanism.
Does Zush send employee files to the cloud?
That depends on the selected mode. Offline AI processes supported files with local Ollama models; BYOK uses the organization’s chosen provider account; managed AI uses Zush-managed processing. Choose a mode approved for the document class.


